How to Upload
Open the Knowledge Base panel
From any chat, click the Knowledge Base icon to open the panel on the right side of the screen.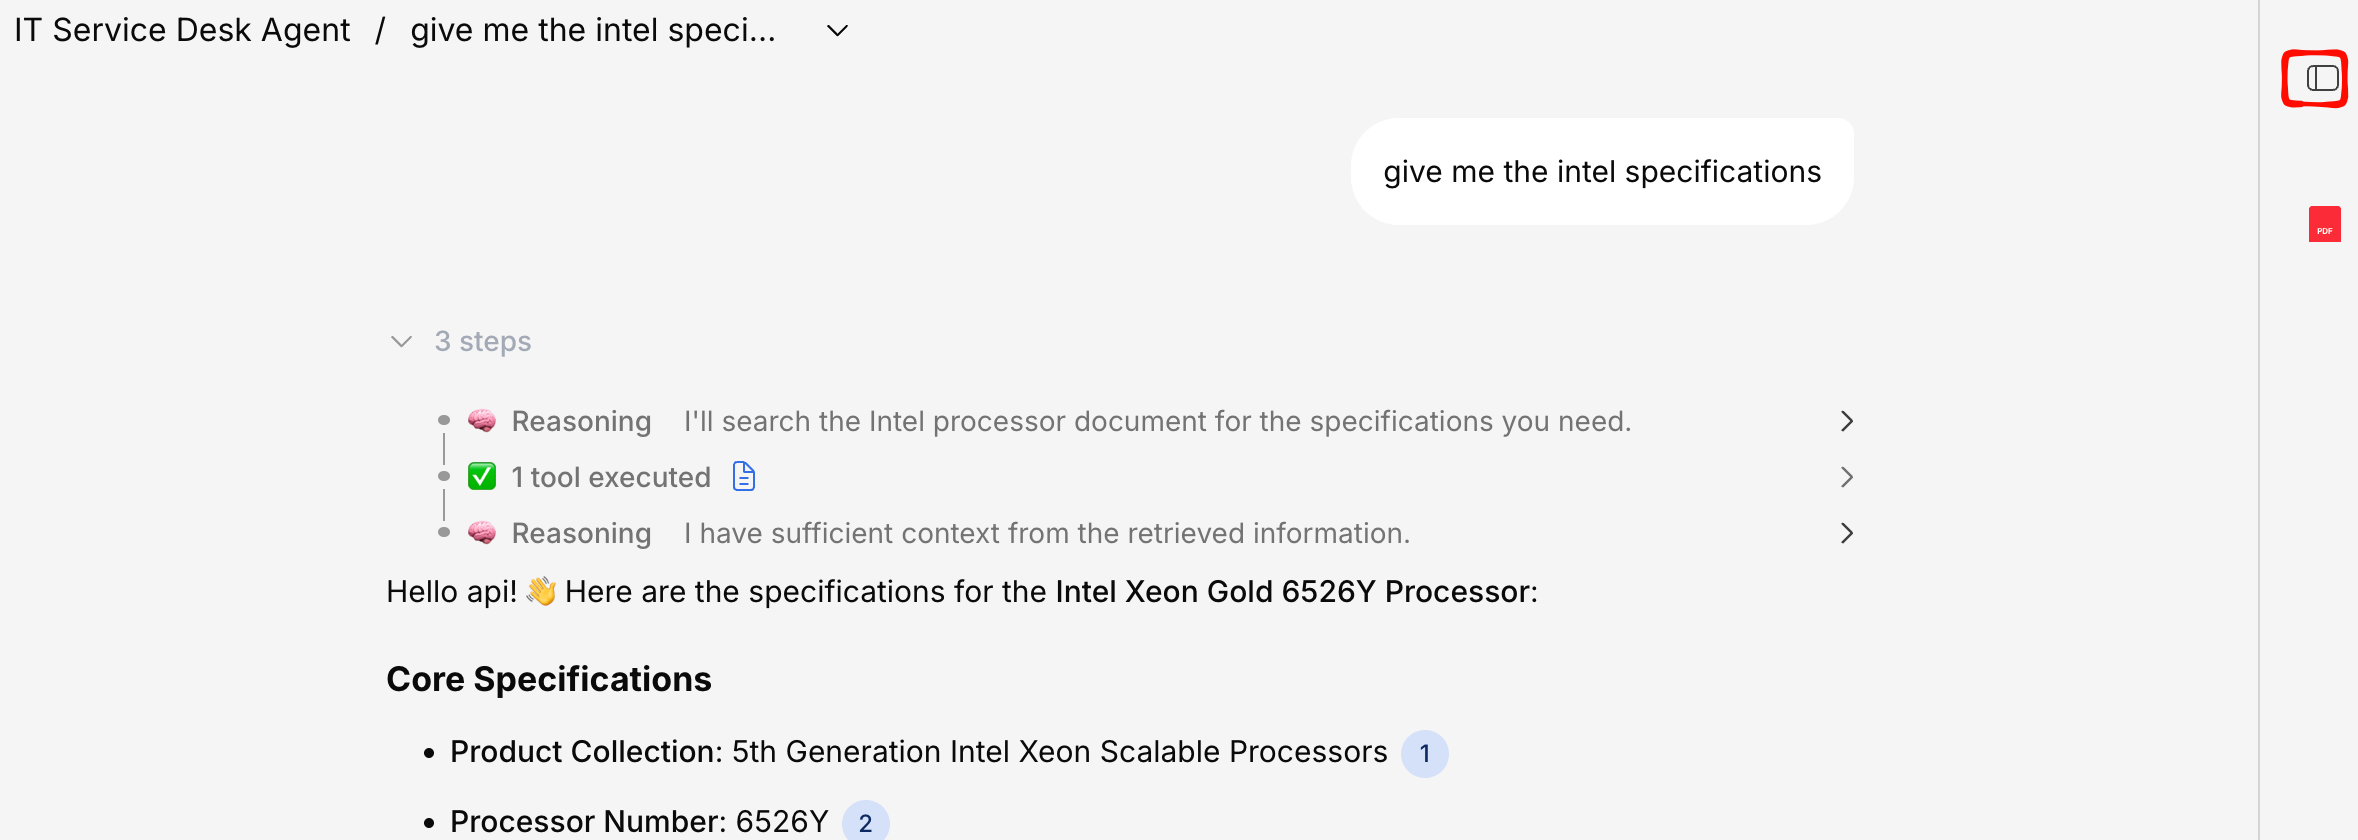
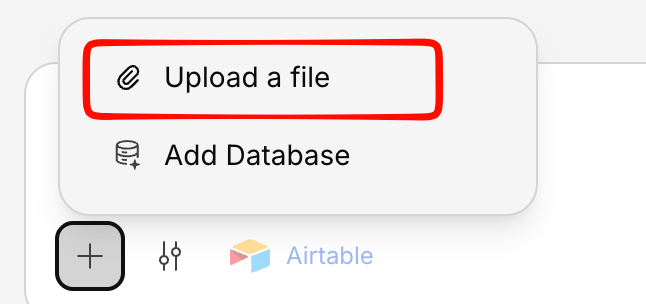
Select your files
Choose one or more files from your computer. You can also drag and drop files directly into the panel.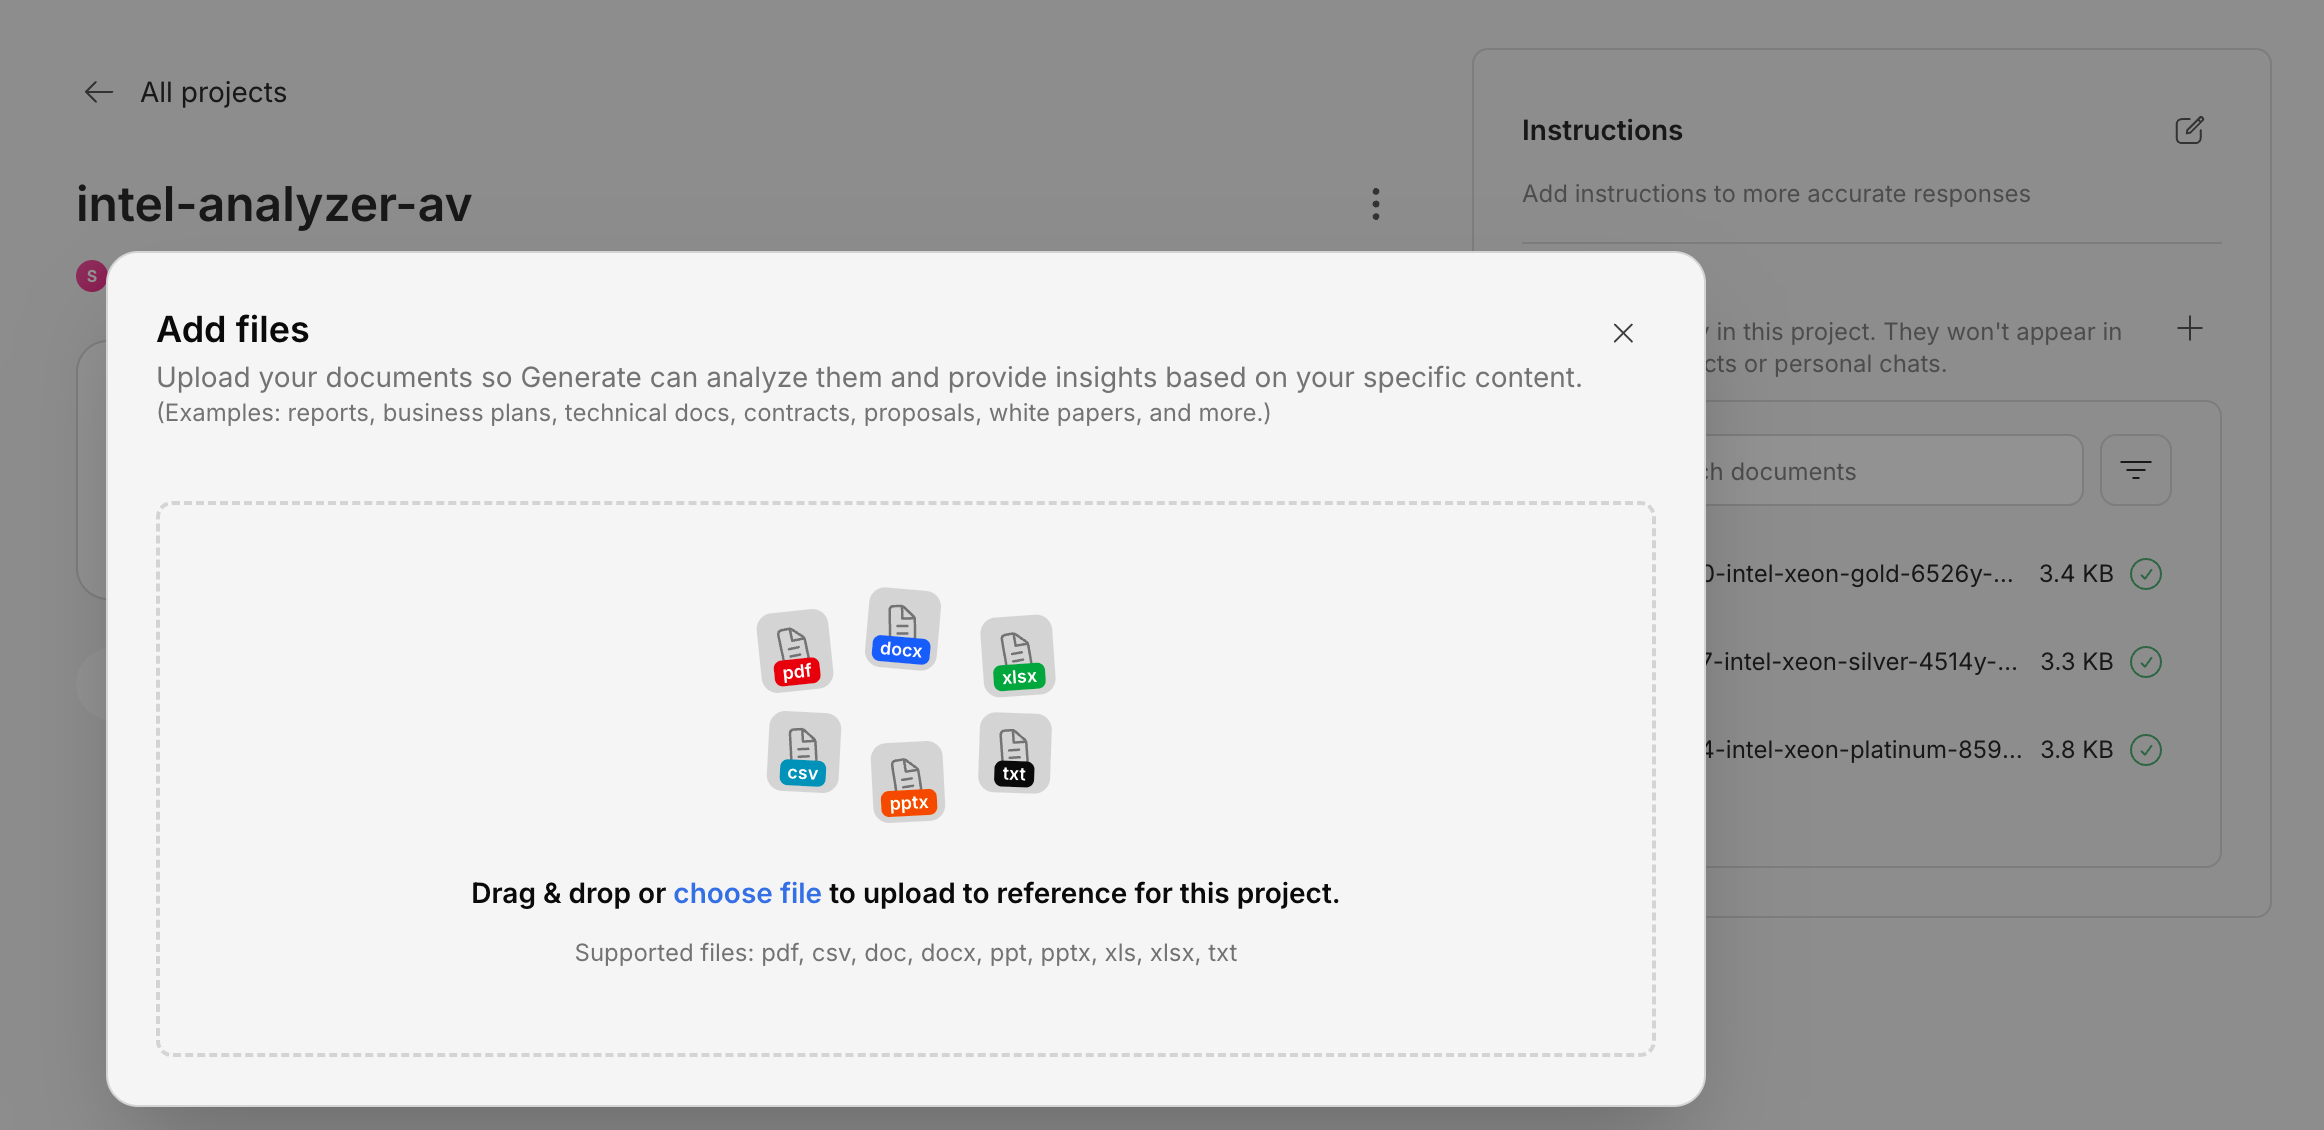
Wait for processing
Generate will read and process your documents. You’ll see a progress indicator. Depending on file size, this usually takes a few seconds to a couple of minutes.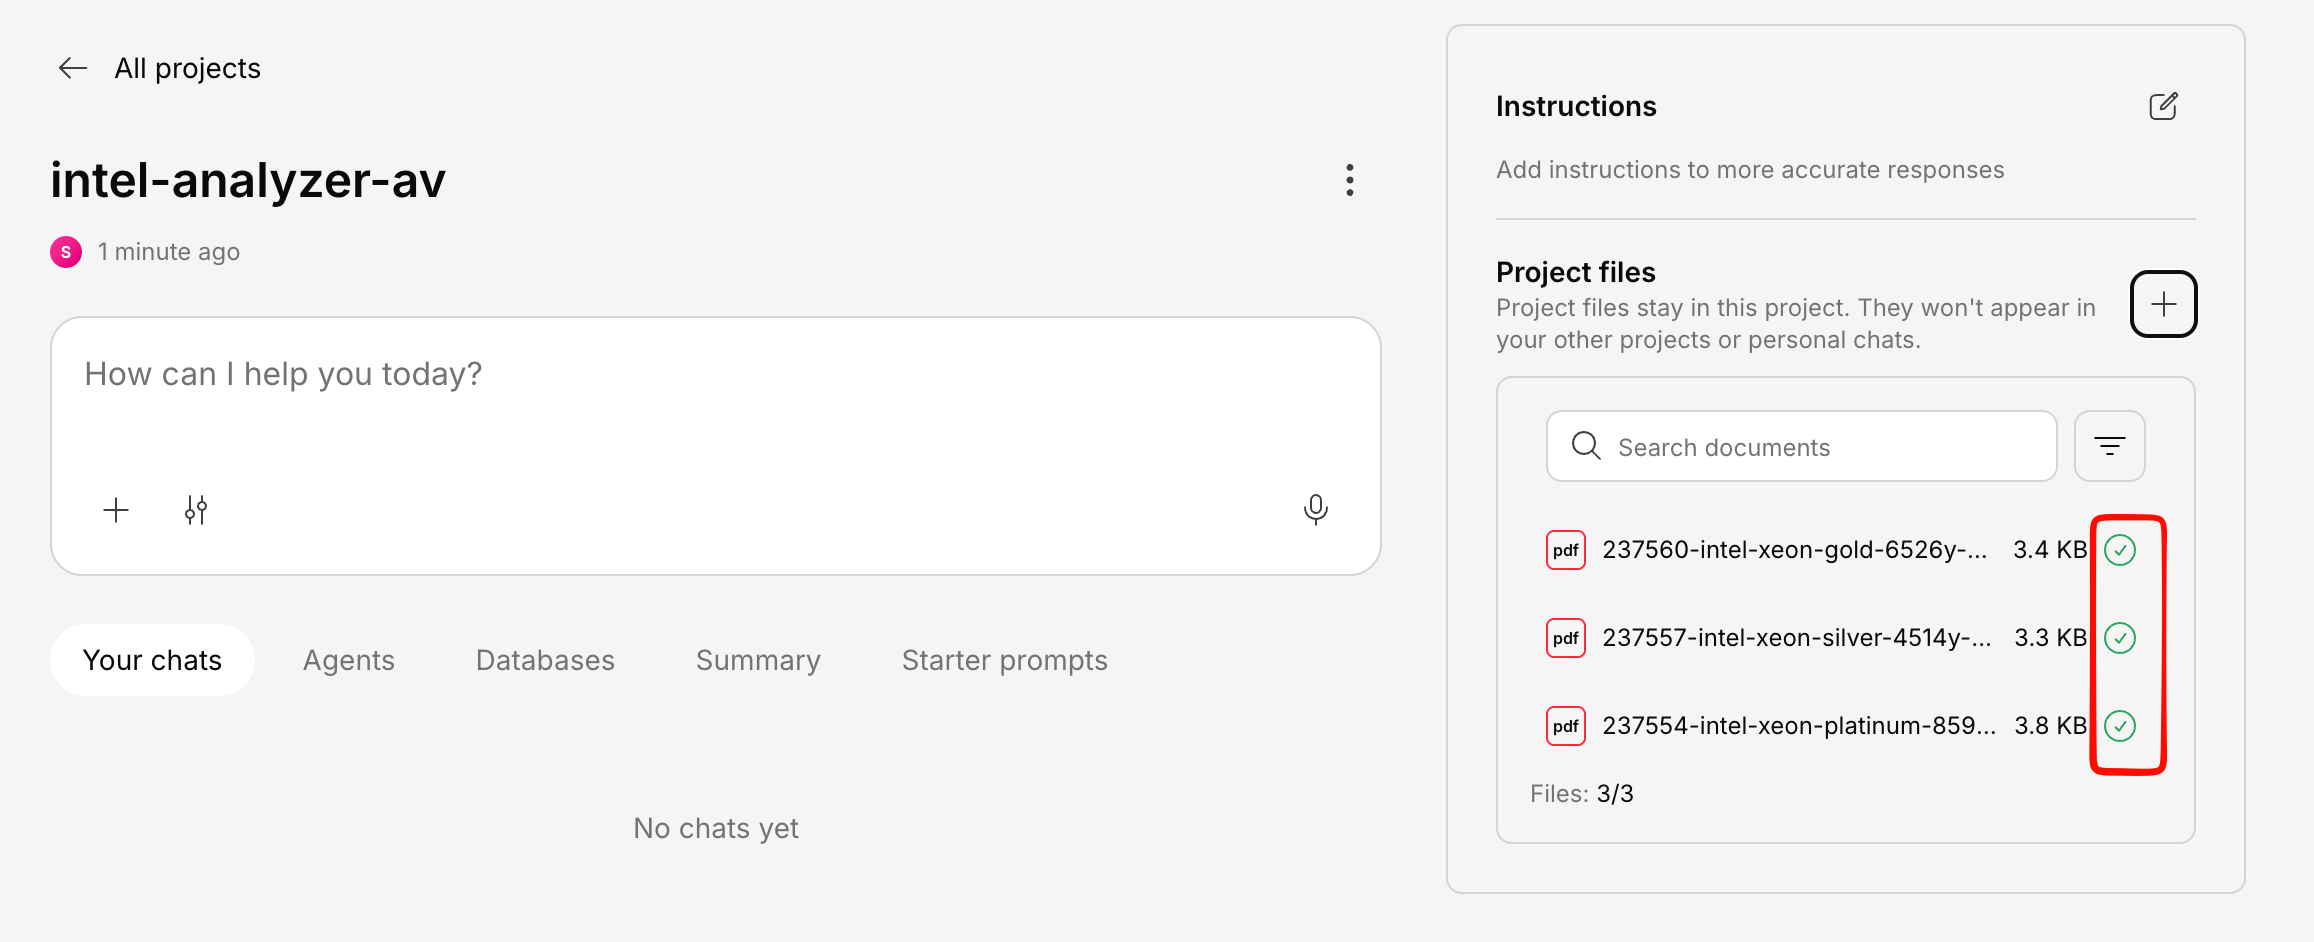
Uploading Multiple Files
You can select multiple files at once or drag and drop a batch of files. They’ll all be processed in parallel.Large File Uploads
Files up to 200 MB are supported. For very large files, Generate automatically uses a multipart upload process — so uploads won’t time out even on slower connections.Upload from Integrations
Instead of uploading from your computer, you can also pull documents directly from connected services: See all integrations →Tips for Better Results
Use clear, readable documents
Use clear, readable documents
Documents with clear text, headings, and structure produce the best results. Scanned images without OCR may not be fully readable.
Break up very large documents
Break up very large documents
While Generate handles large files well, breaking a 500-page manual into logical sections can improve the relevance of search results.
Keep documents up to date
Keep documents up to date
If a policy or report gets updated, upload the new version and remove the old one to keep answers accurate.
Use descriptive file names
Use descriptive file names
Naming files clearly (e.g., “Q3-2024-Sales-Report.pdf” instead of “report-final-v2.pdf”) helps with organization and makes sources easier to identify.