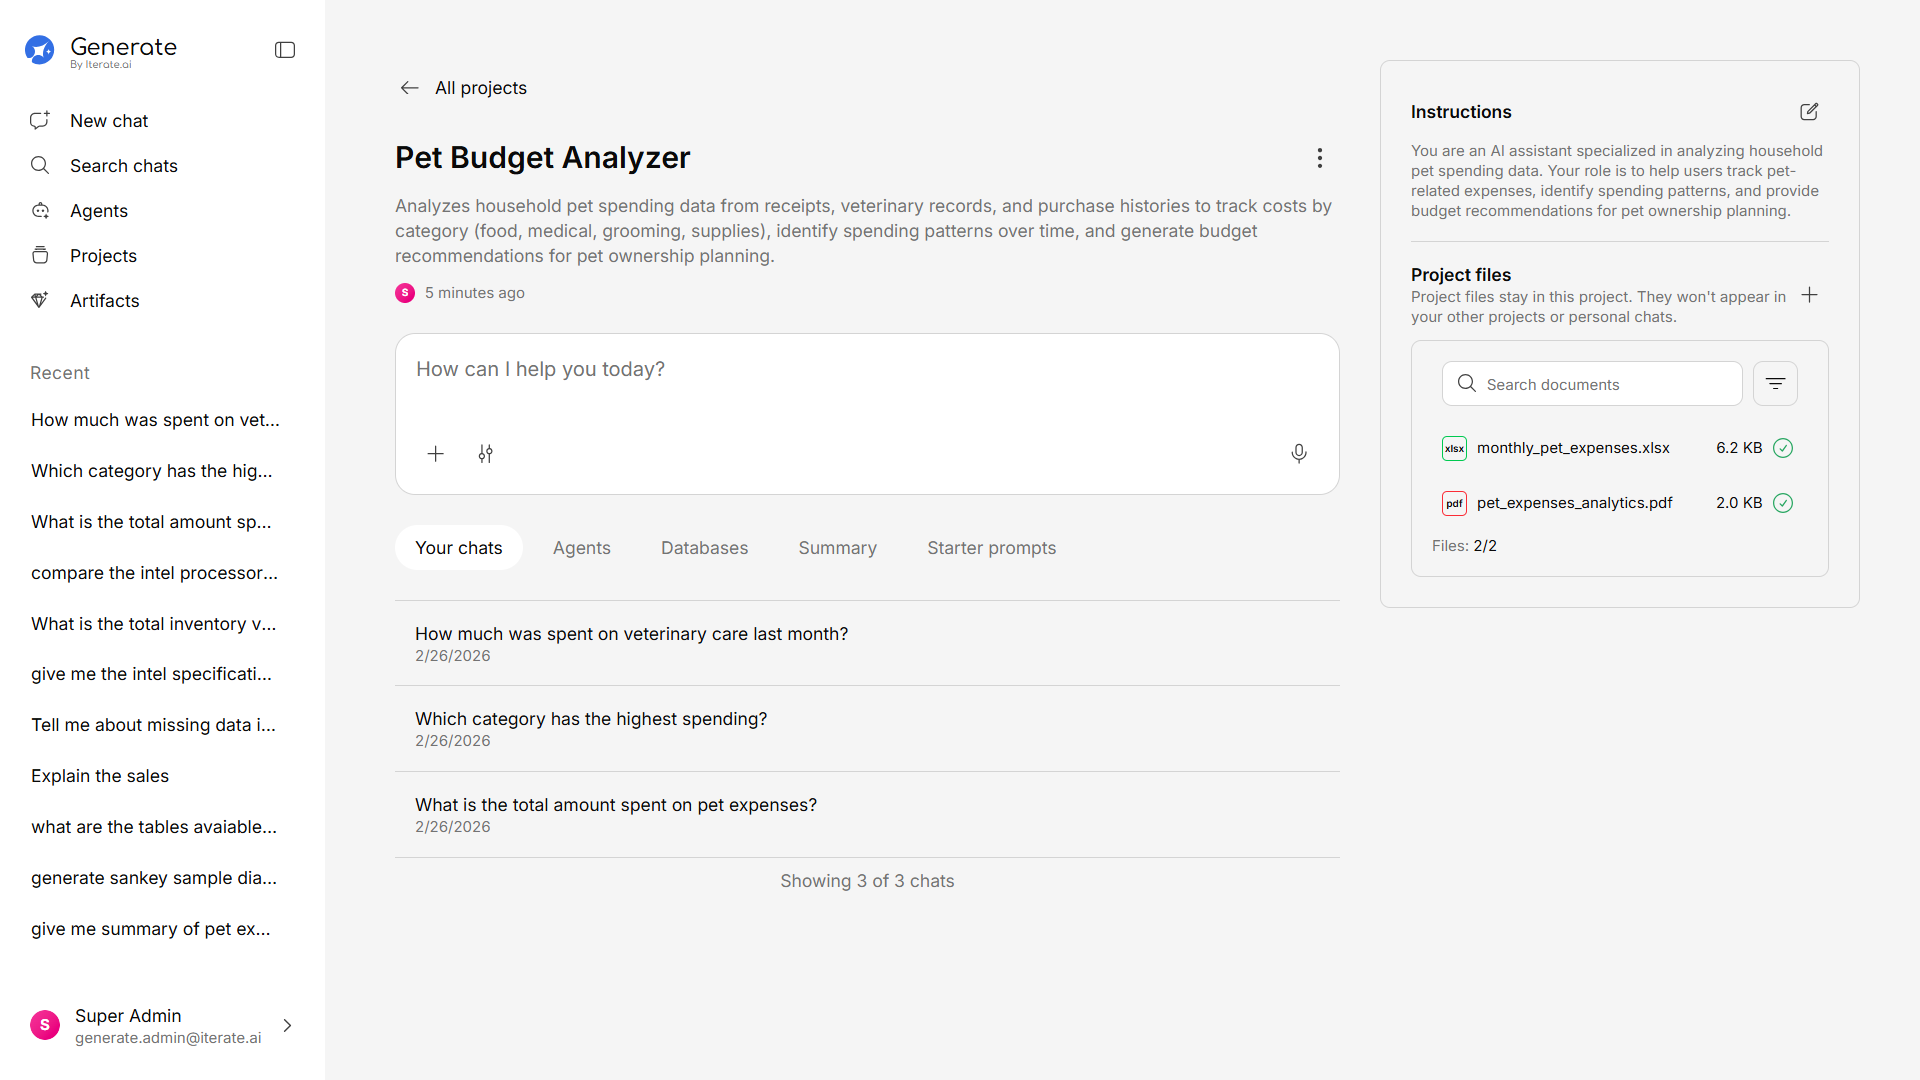
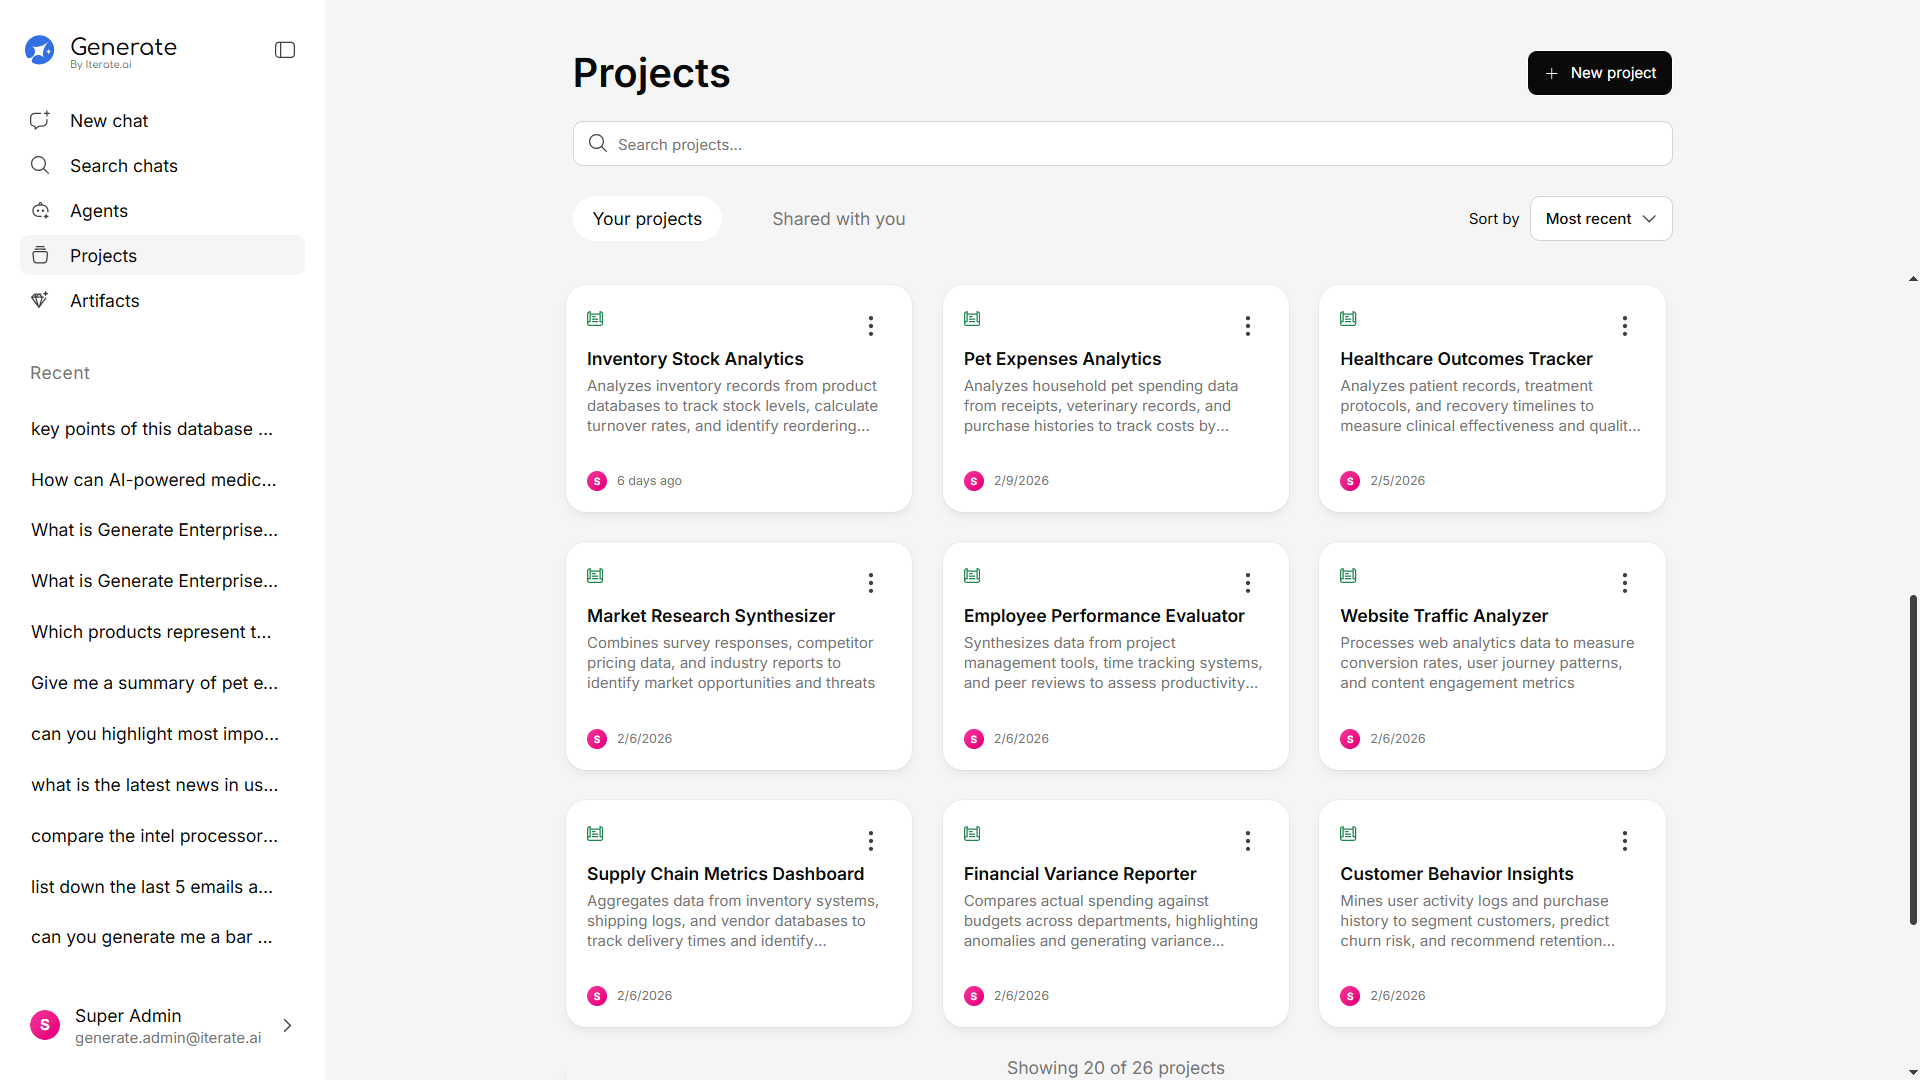
How to Create a Project

Fill in the details
Give your project: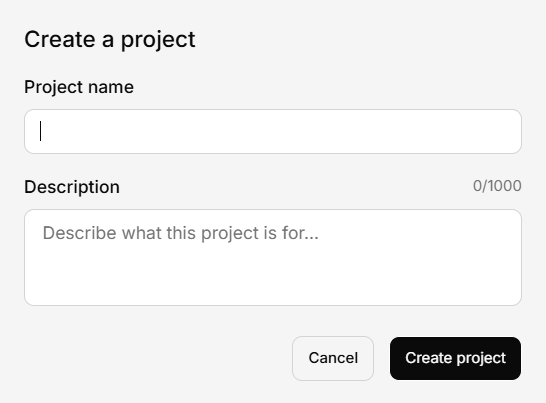
- Name — Something clear and descriptive (e.g., “Q1 Marketing Campaign” or “Engineering Docs”)
- Description — Optional, but helpful for your team to understand the project’s purpose
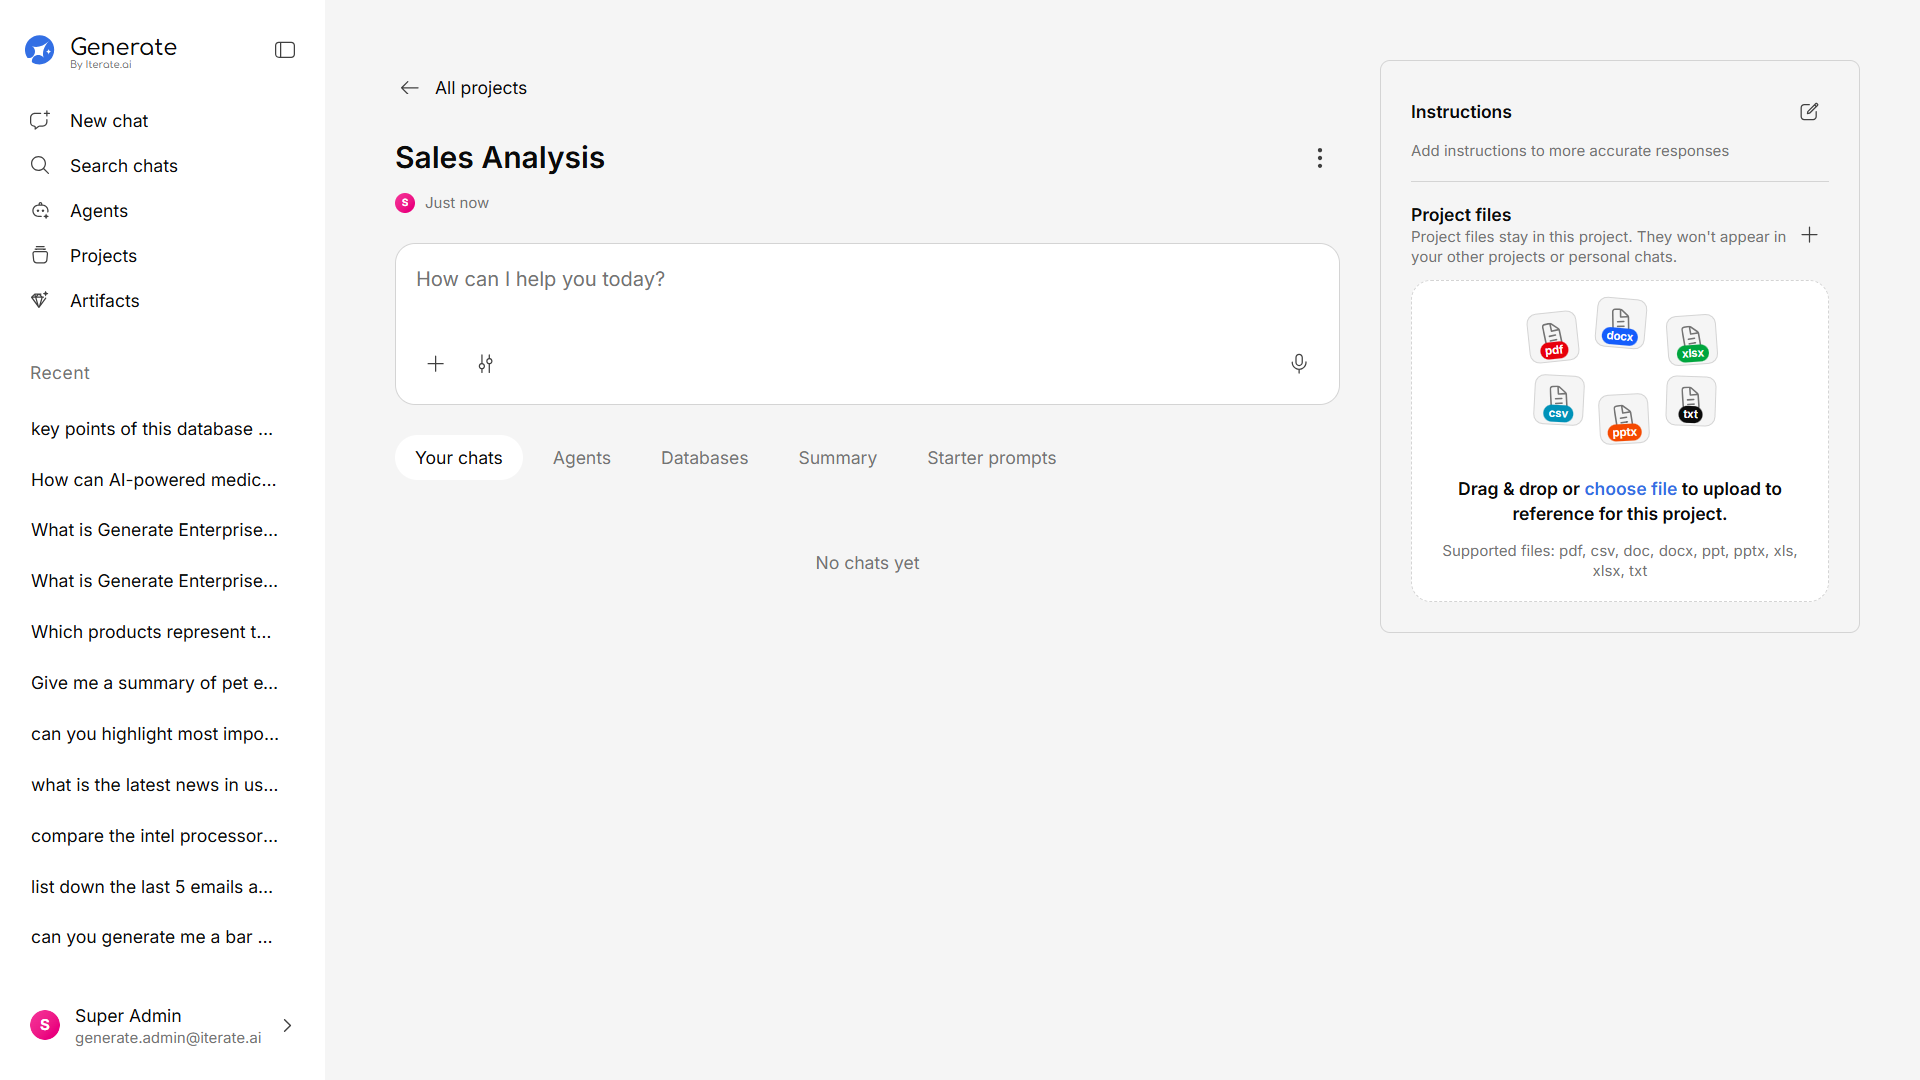
After Creating a Project
Once your project is set up, you can:- Upload documents — Add files specific to this project’s knowledge base
- Start conversations — Chat with the AI using only this project’s documents as context
- Configure settings — Adjust project-specific settings like model preferences