Generate’s AI Workflow Builder lets you create custom AI agents using natural language prompts. Describe your automation requirements, and the AI constructs the workflow logic, configures integrations, and deploys the agent—no programming or API knowledge required.
Accessing the Workflow Builder
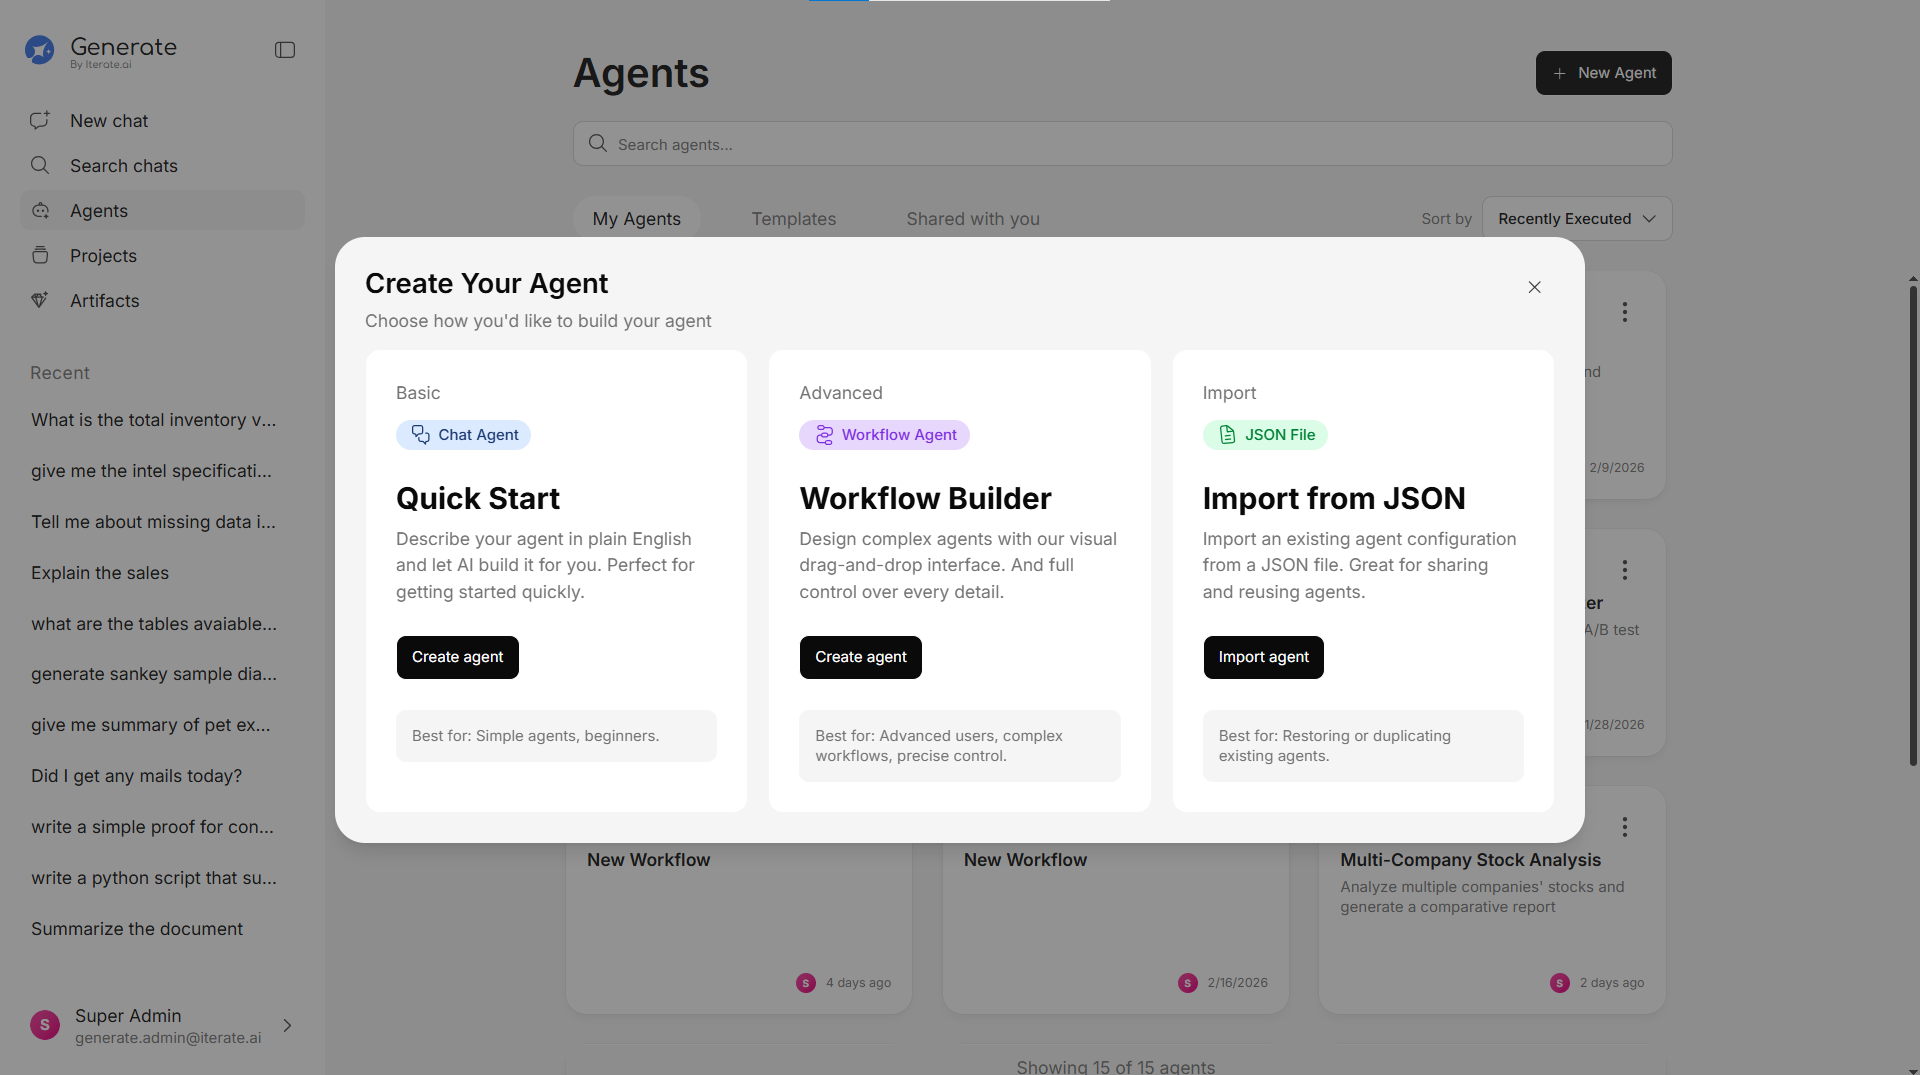
There are two ways to open the Workflow Builder:- From the ‘My Agents’ list — Click on the 3 dots next to an agent, then select Edit
- Creating an Agent — When creating a new agent, click Workflow Builder
Building a Workflow
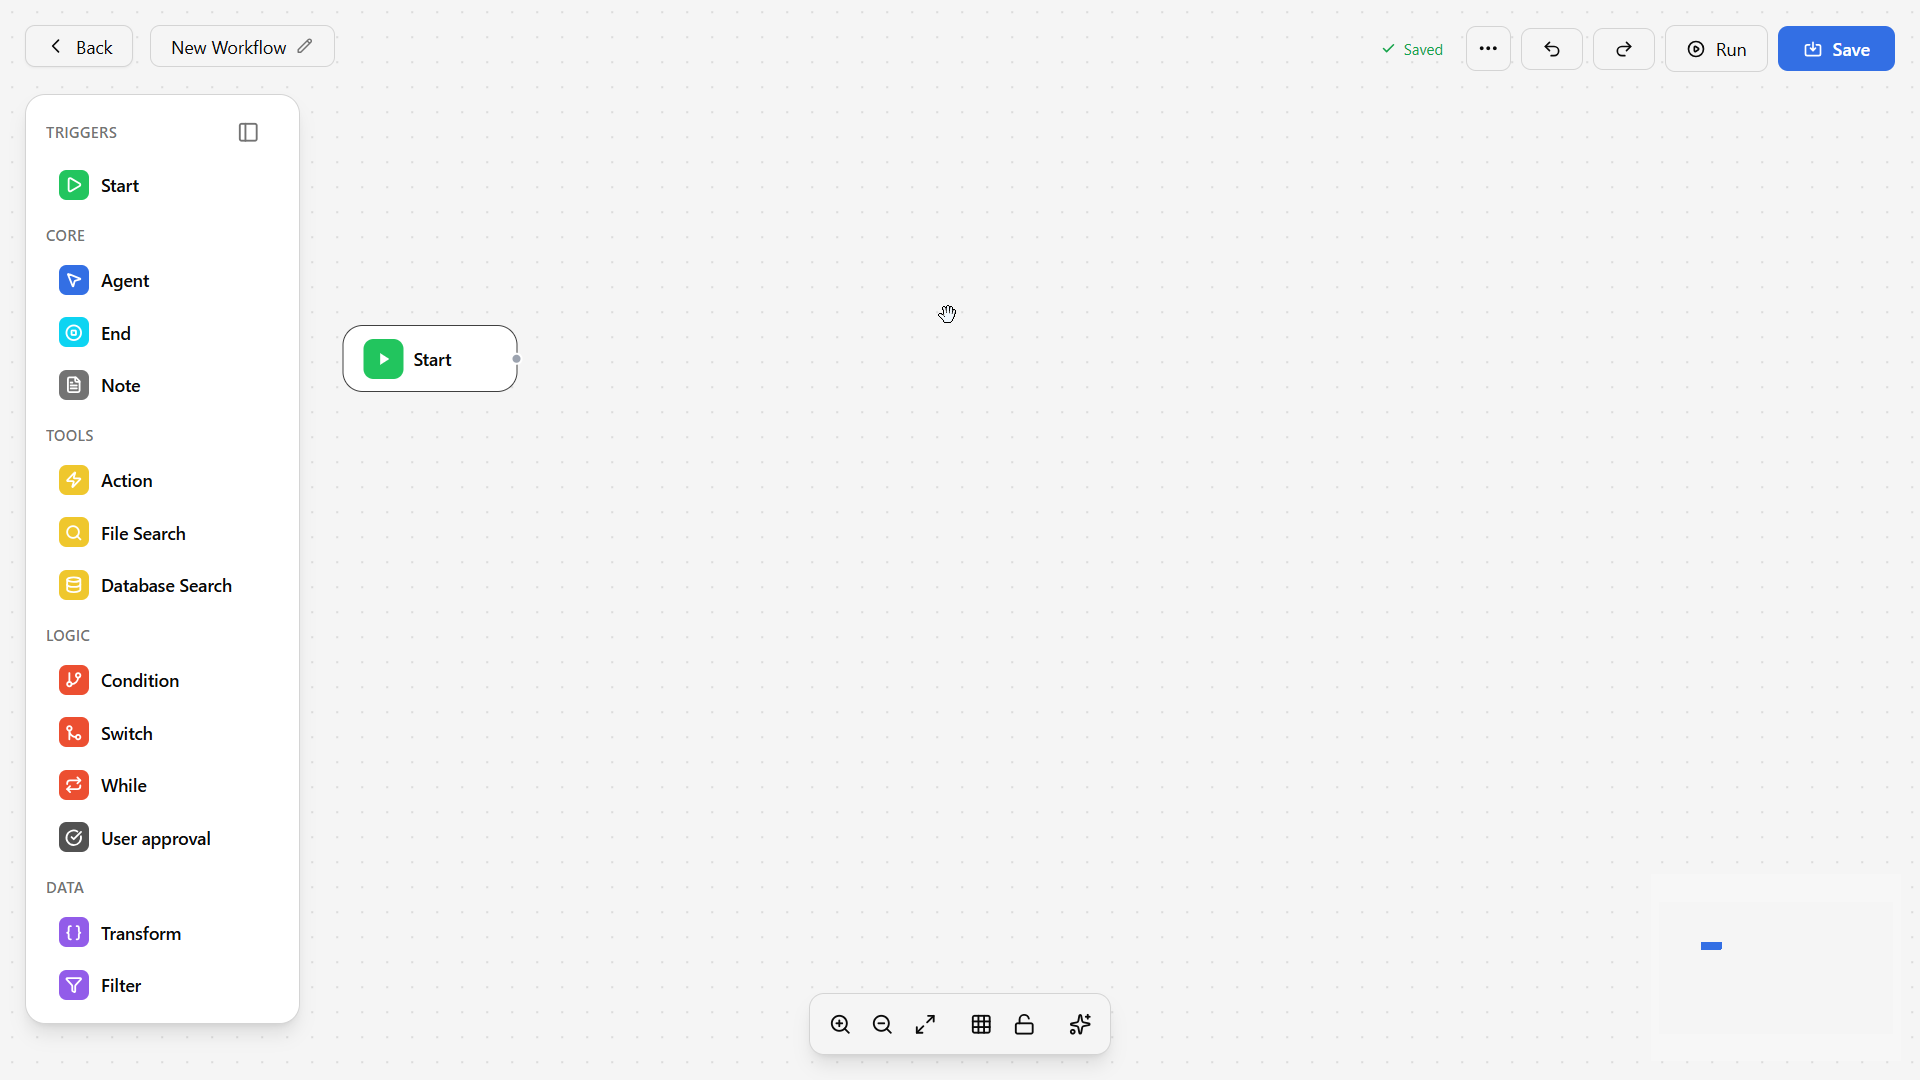
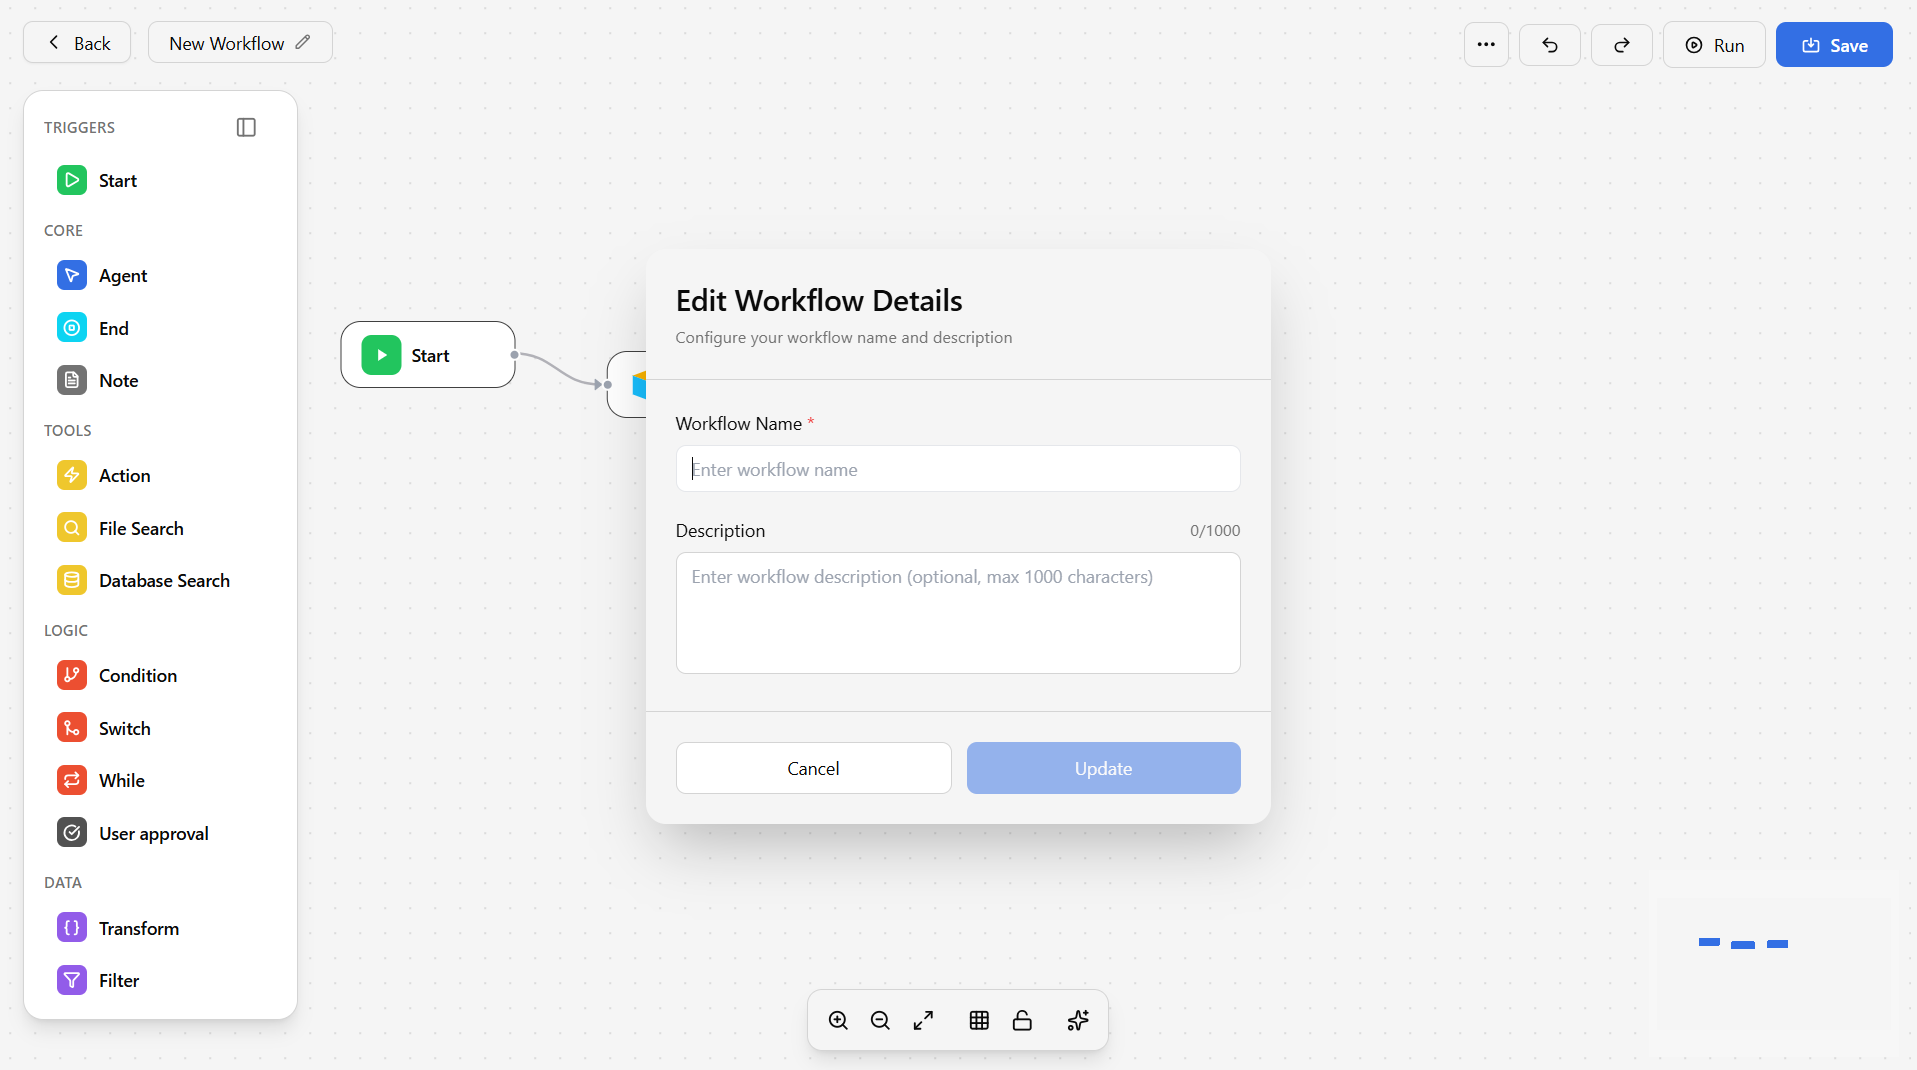
Creating a New Workflow
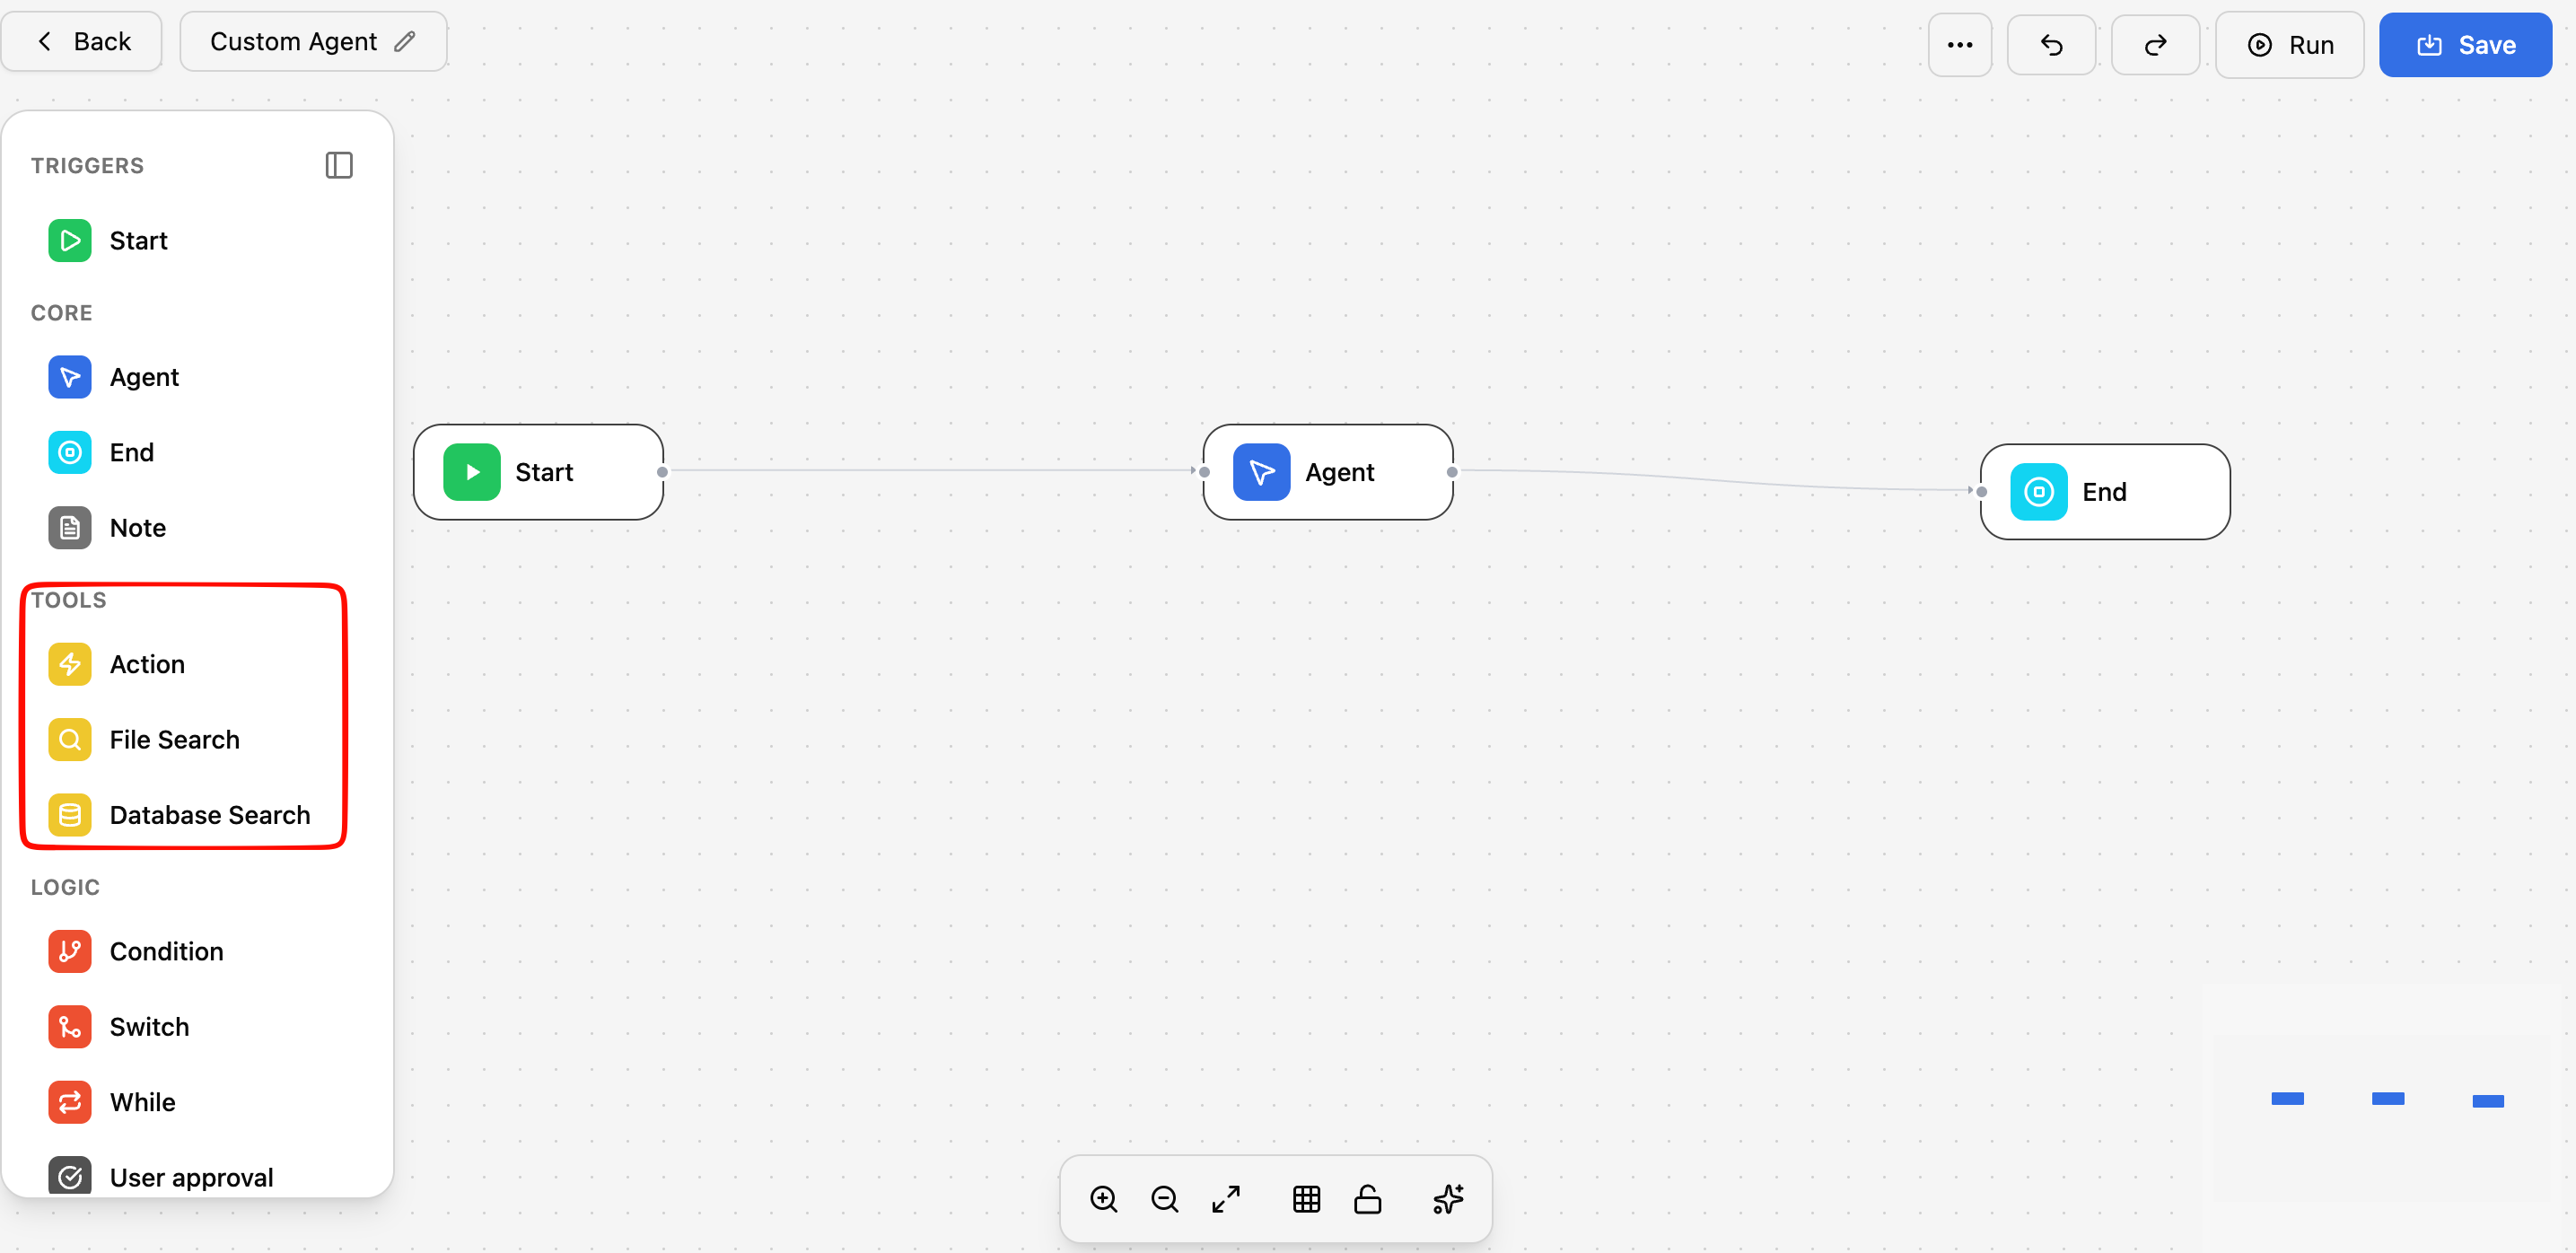
Add your first step
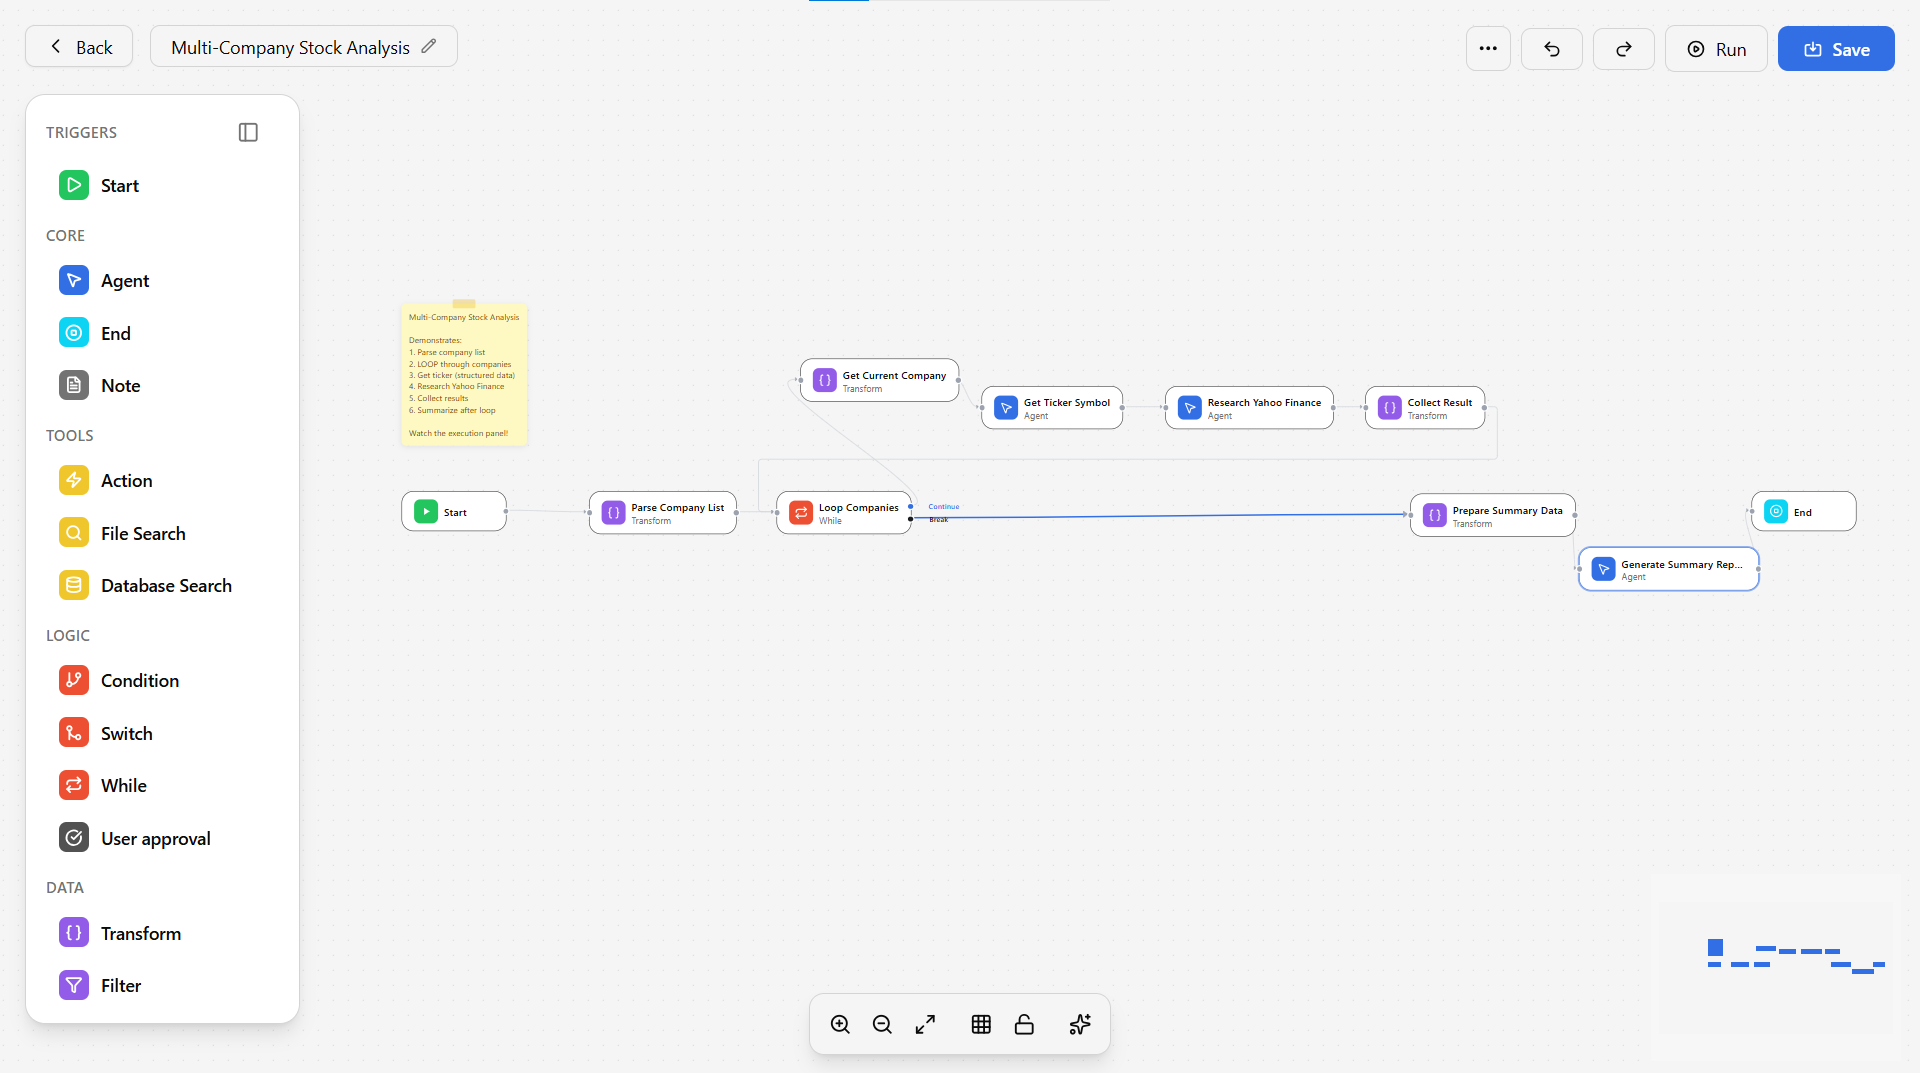
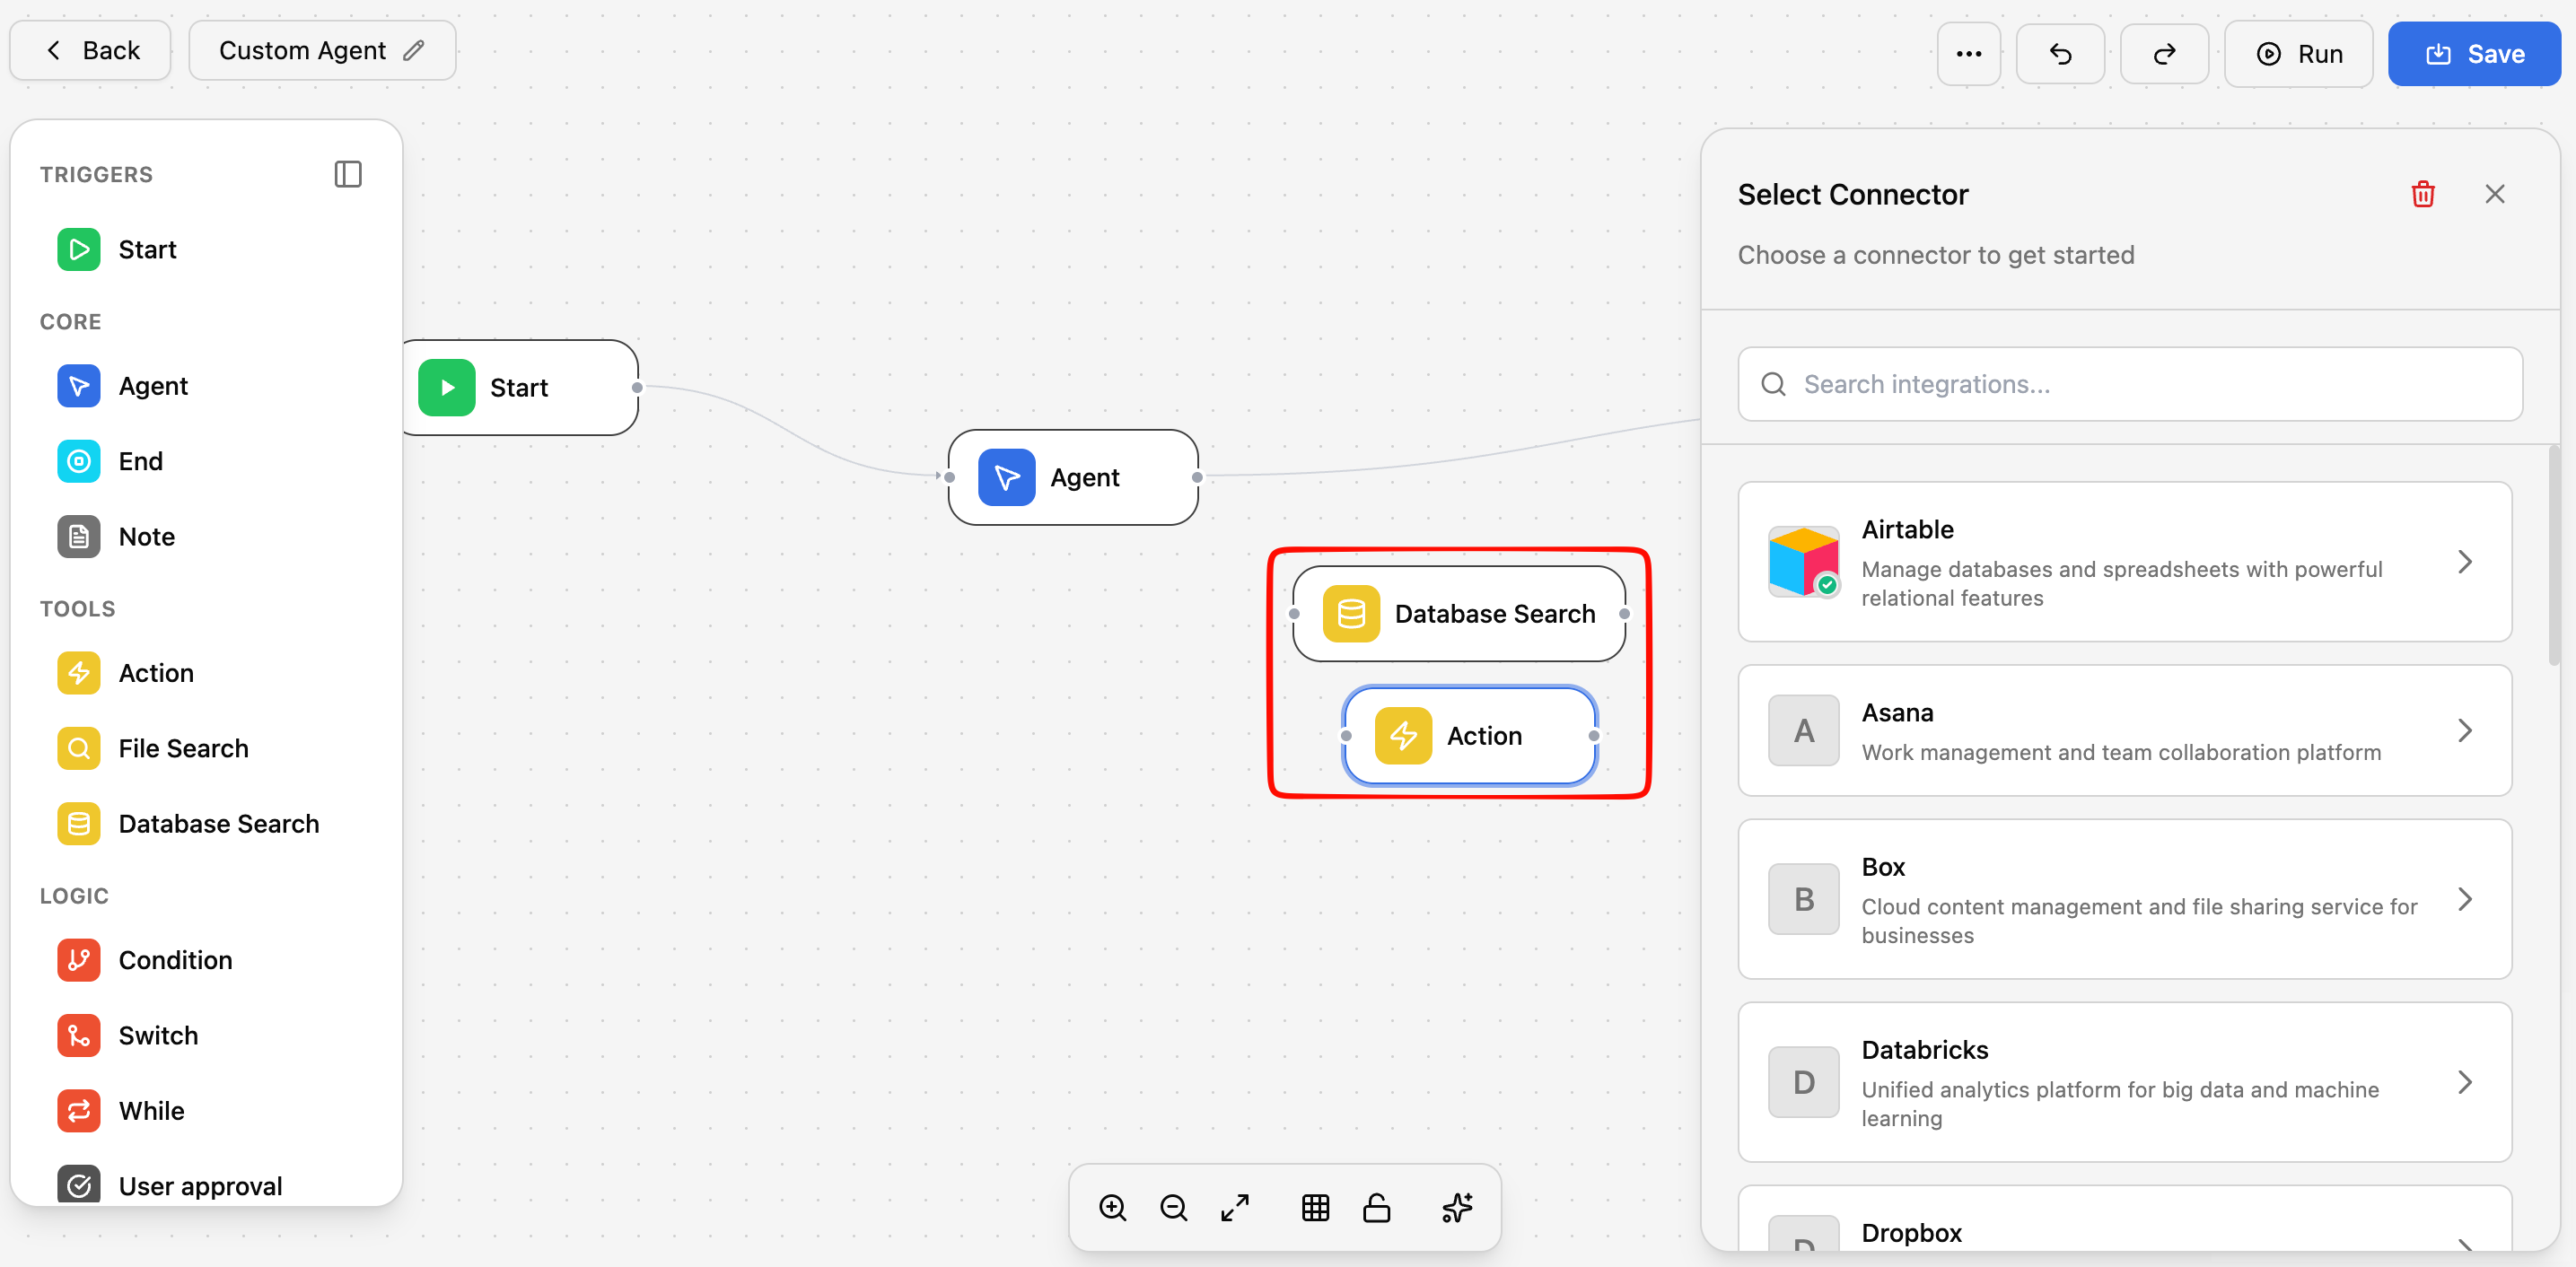
Drag and drop a step from the left sidebar. Choose from the available step types:
| Step Type | What it does |
|---|---|
| AI Prompt | Sends a prompt to the AI and captures the response |
| Knowledge Search | Searches your knowledge base and returns relevant results |
| Web Search | Searches the web for current information |
| Condition | Checks a condition and branches the flow (if/else) |
| Transform | Processes or reformats data between steps |
| Action | Performs an operation like sending a notification or updating a record |
Configure each step
Click on a step to configure it. Set the input, define what it should do, and specify where its output goes.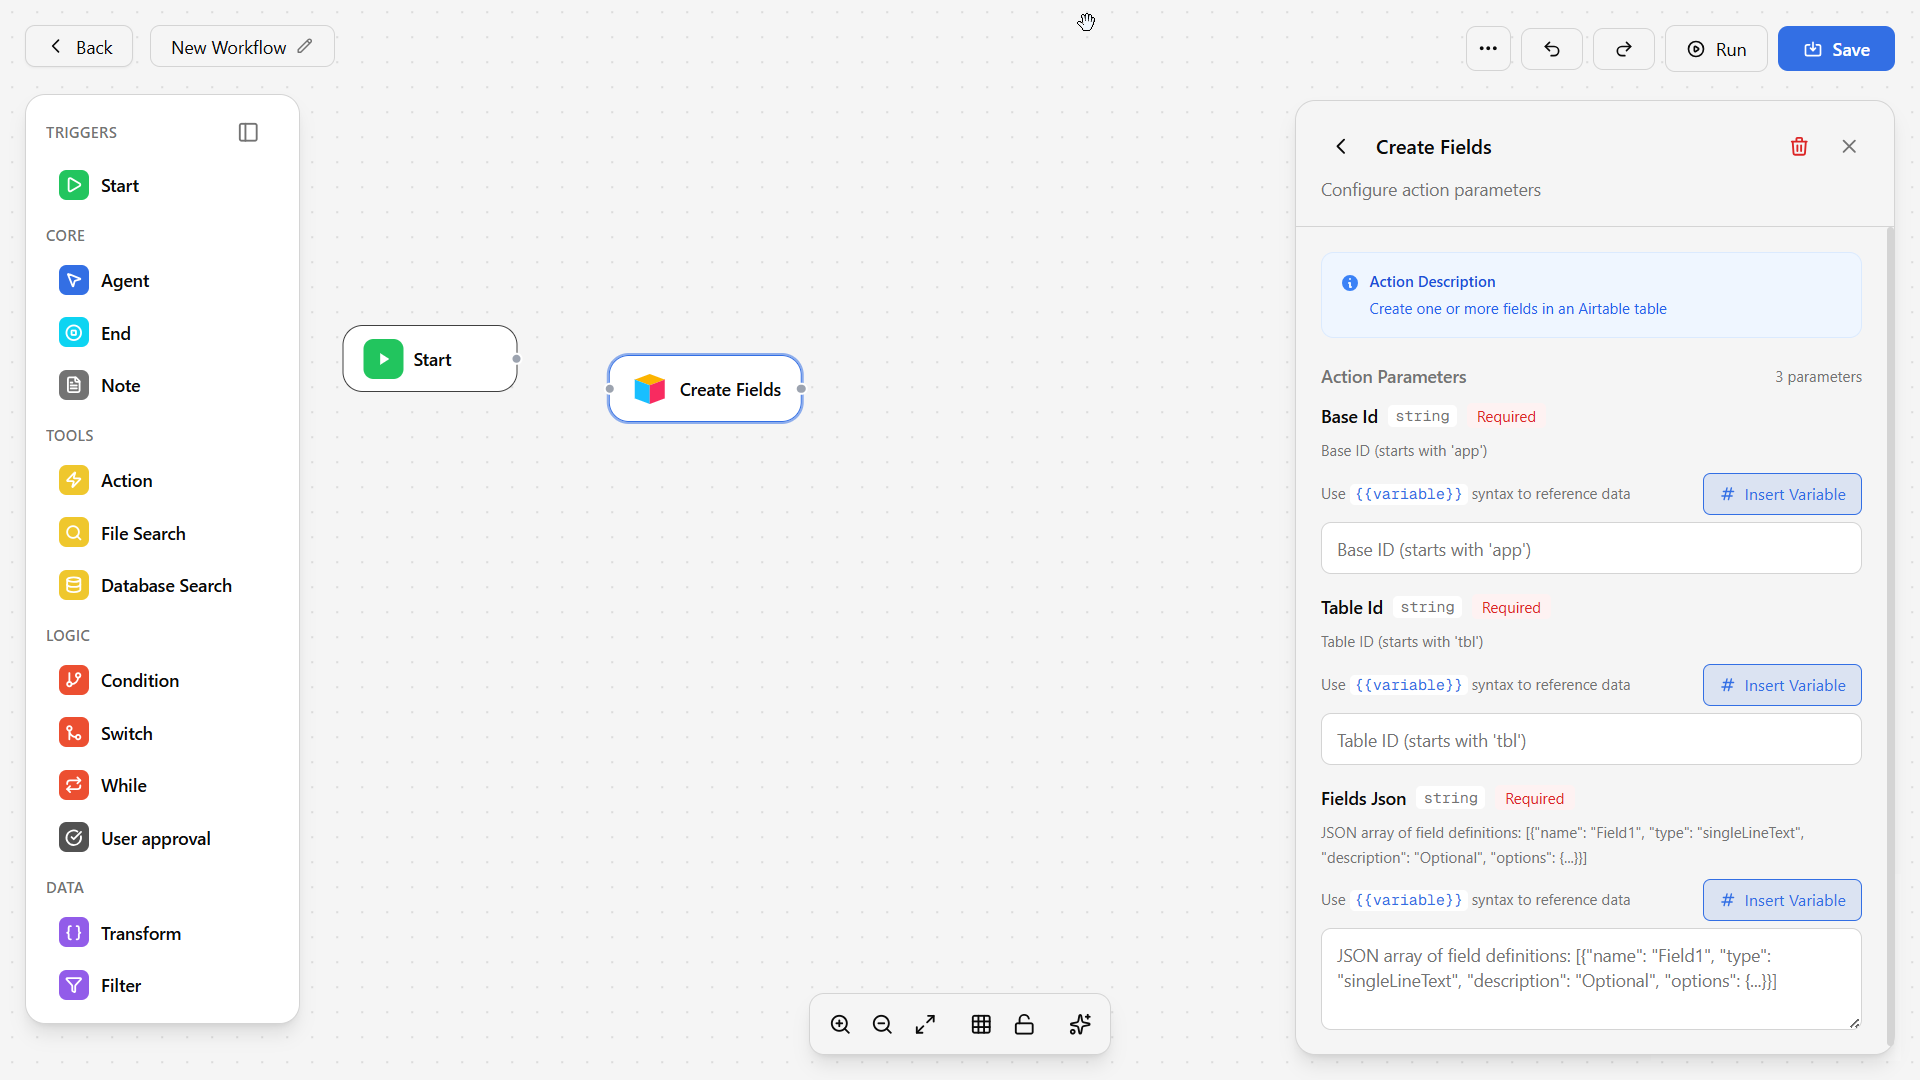
Connect steps together
Drag connections between steps to define the flow. Steps run in the order you connect them, with conditions allowing you to branch into different paths.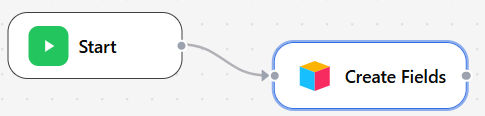
Tips for Building Effective Workflows
Start simple
Start simple
Begin with 2-3 steps and test the workflow before adding complexity. It’s easier to debug a simple workflow than a complex one.
Use clear step names
Use clear step names
Rename each step to describe what it does (e.g., “Summarize uploaded document” instead of “Step 1”). This makes your workflow easier to understand and maintain.
Test with real data
Test with real data
Use actual documents and scenarios when testing to make sure the workflow handles real-world inputs correctly.
Check outputs at each step
Check outputs at each step
Use the preview/debug feature to verify that each step produces the expected output before moving on to the next.
Handle errors gracefully
Handle errors gracefully
Add condition steps to check for errors and provide fallback paths. This makes your workflow more robust and reliable.
Document your workflow
Document your workflow
Add descriptions to complex steps explaining what they do and why. This helps others (and future you) understand the workflow logic.
What You Can Configure
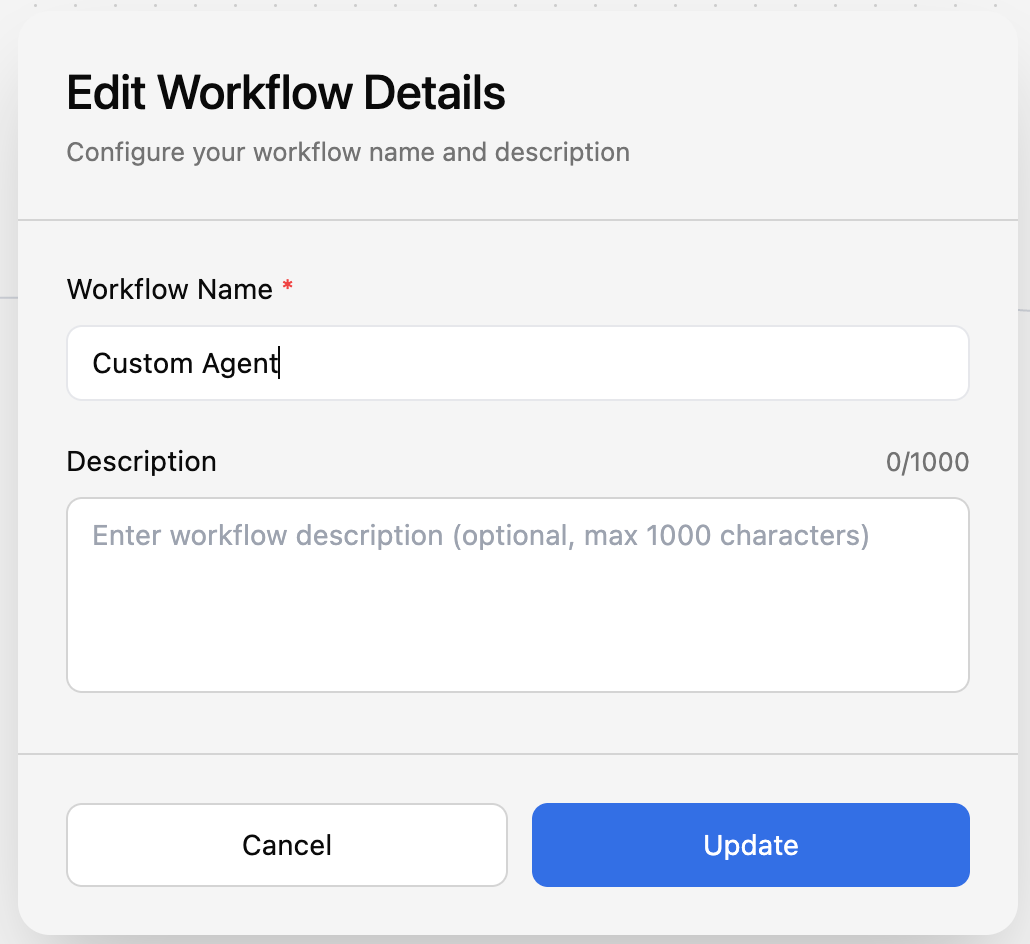
The Workflow Builder gives you a visual way to configure:Identity & Instructions
- Name and description — What this workflow does
- System instructions — Detailed behavior guidelines
- Trigger settings — When and how the workflow runs
Tools & Capabilities
- Toggle tools on/off — Enable or disable specific capabilities
- Configure tool settings — Set parameters for each tool
- Test tools — Verify tools work as expected
Knowledge Scope
- Select documents — Choose which knowledge base documents the workflow can access
- Add connectors — Give the workflow access to specific integrations
Testing
- Live preview — Test your workflow in real-time as you configure it
- Sample conversations — Run through test scenarios before deploying
Running & Monitoring Workflows
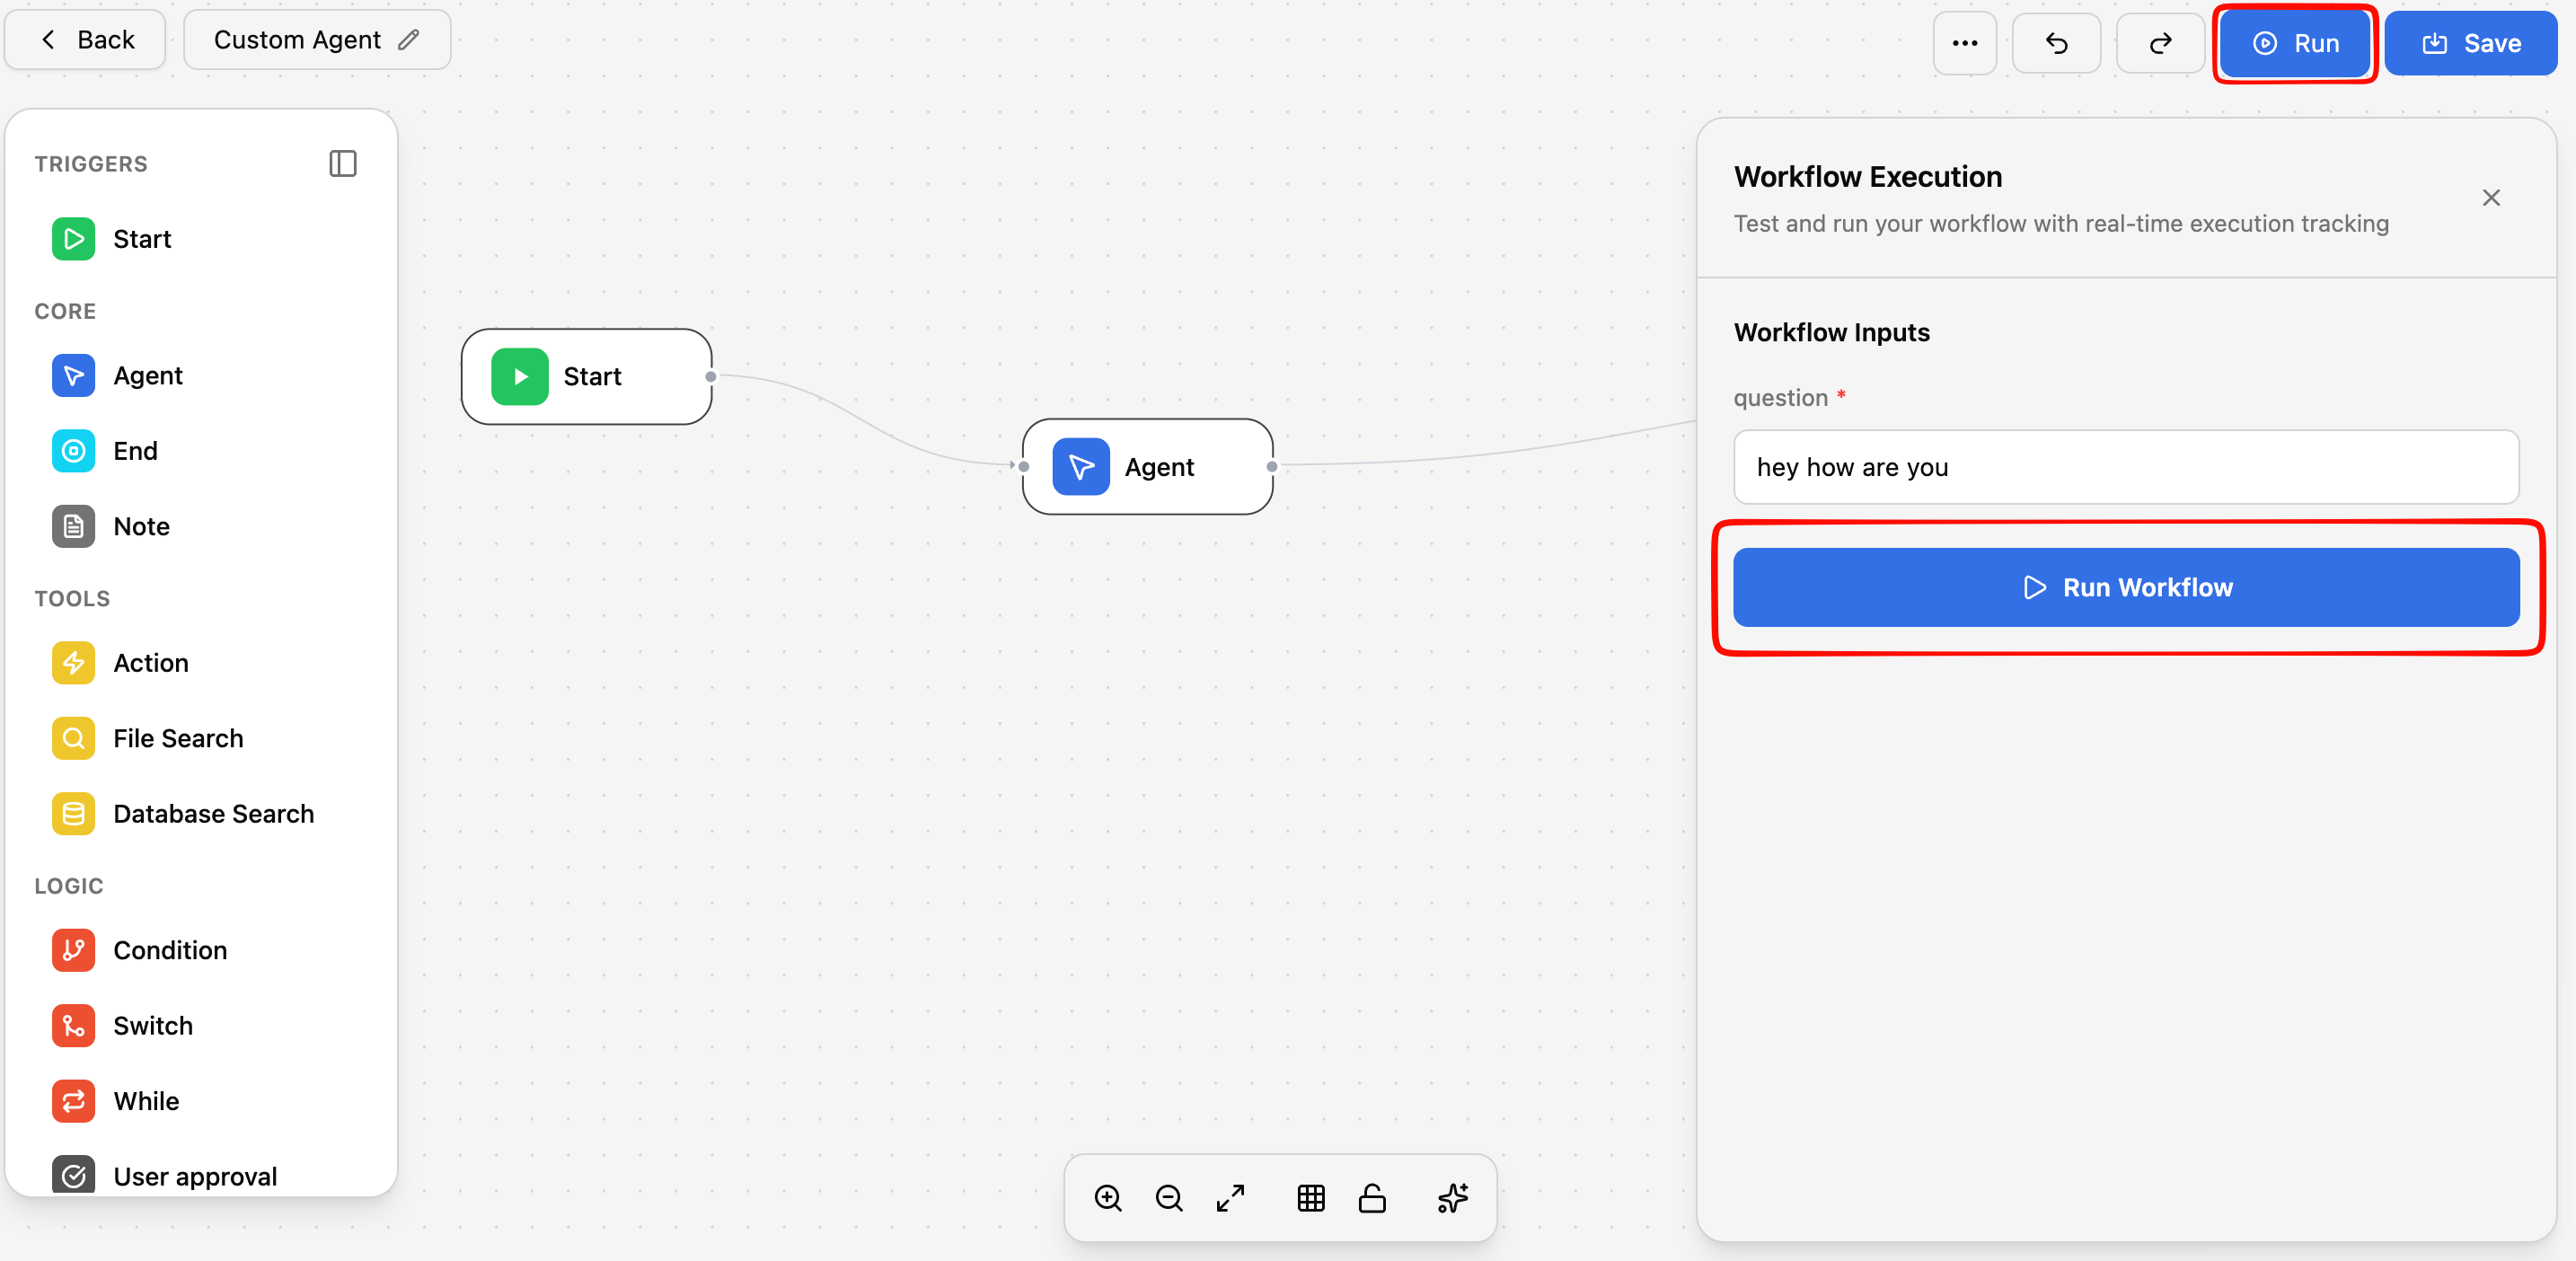
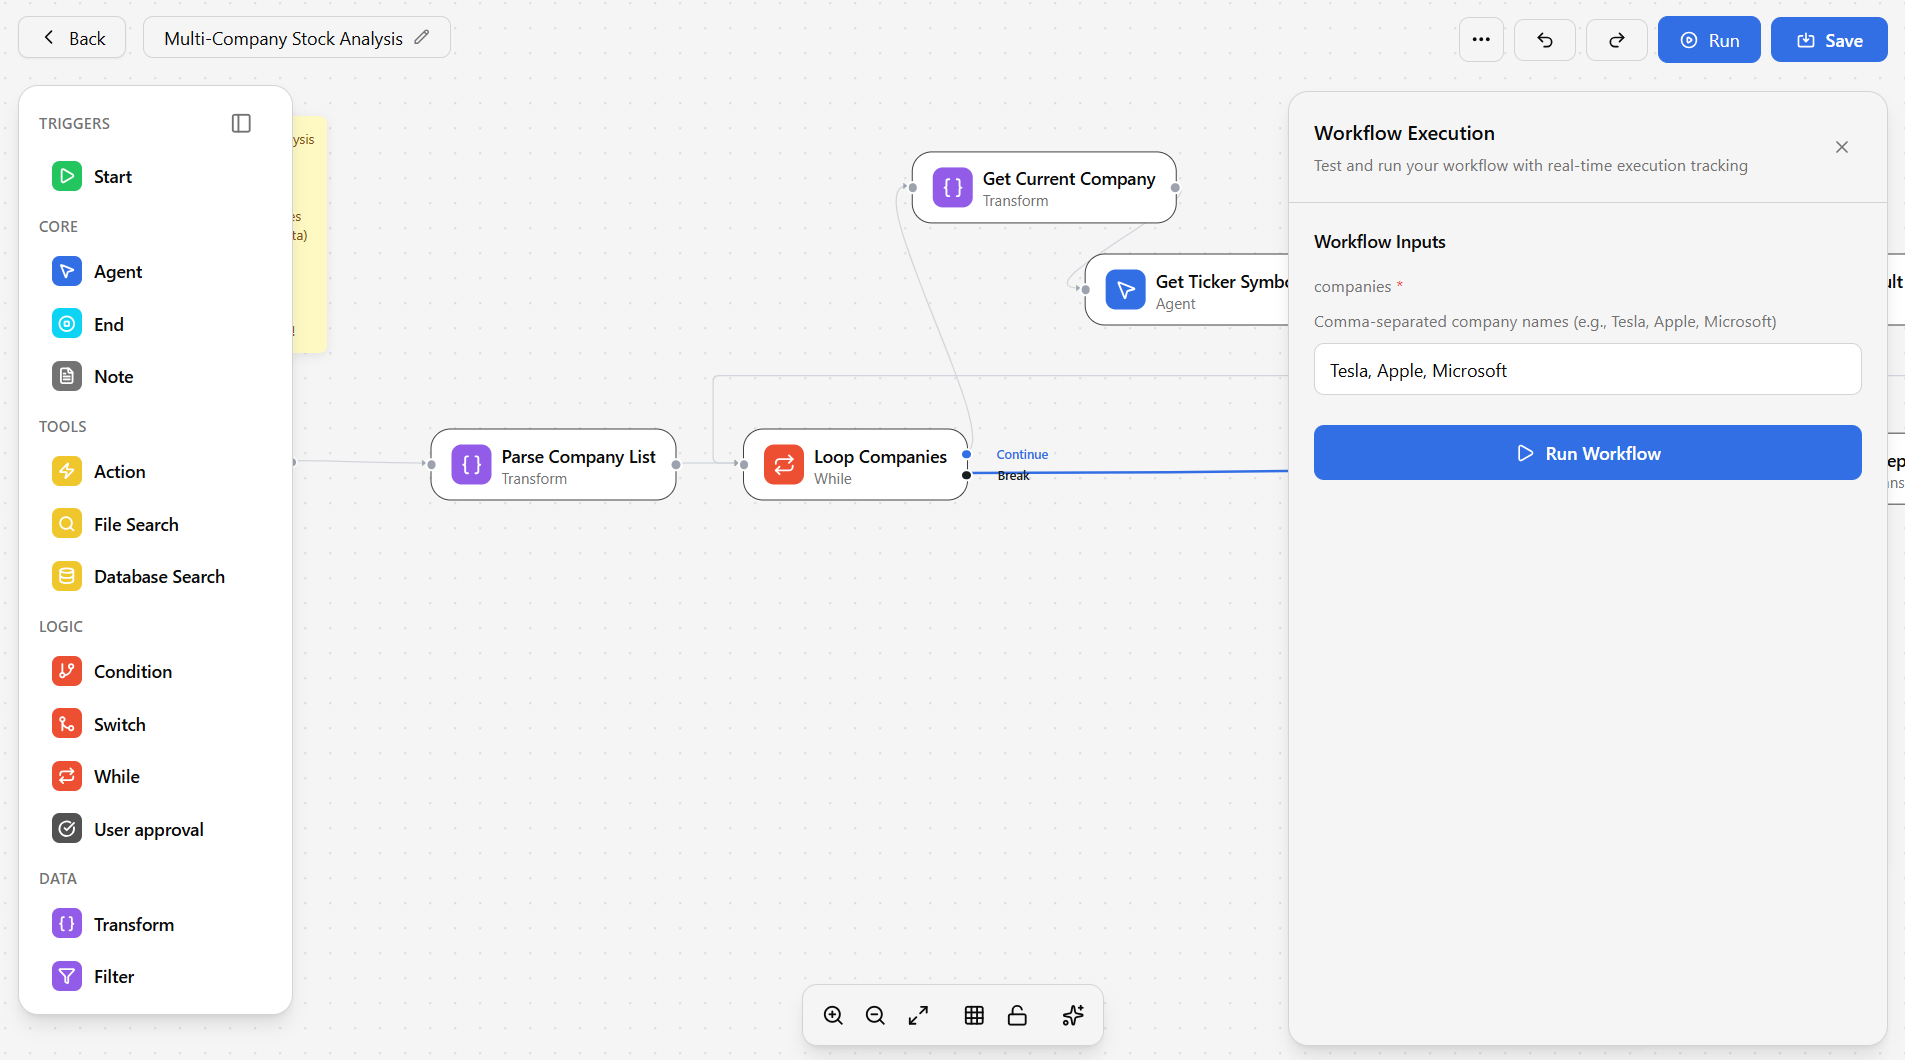
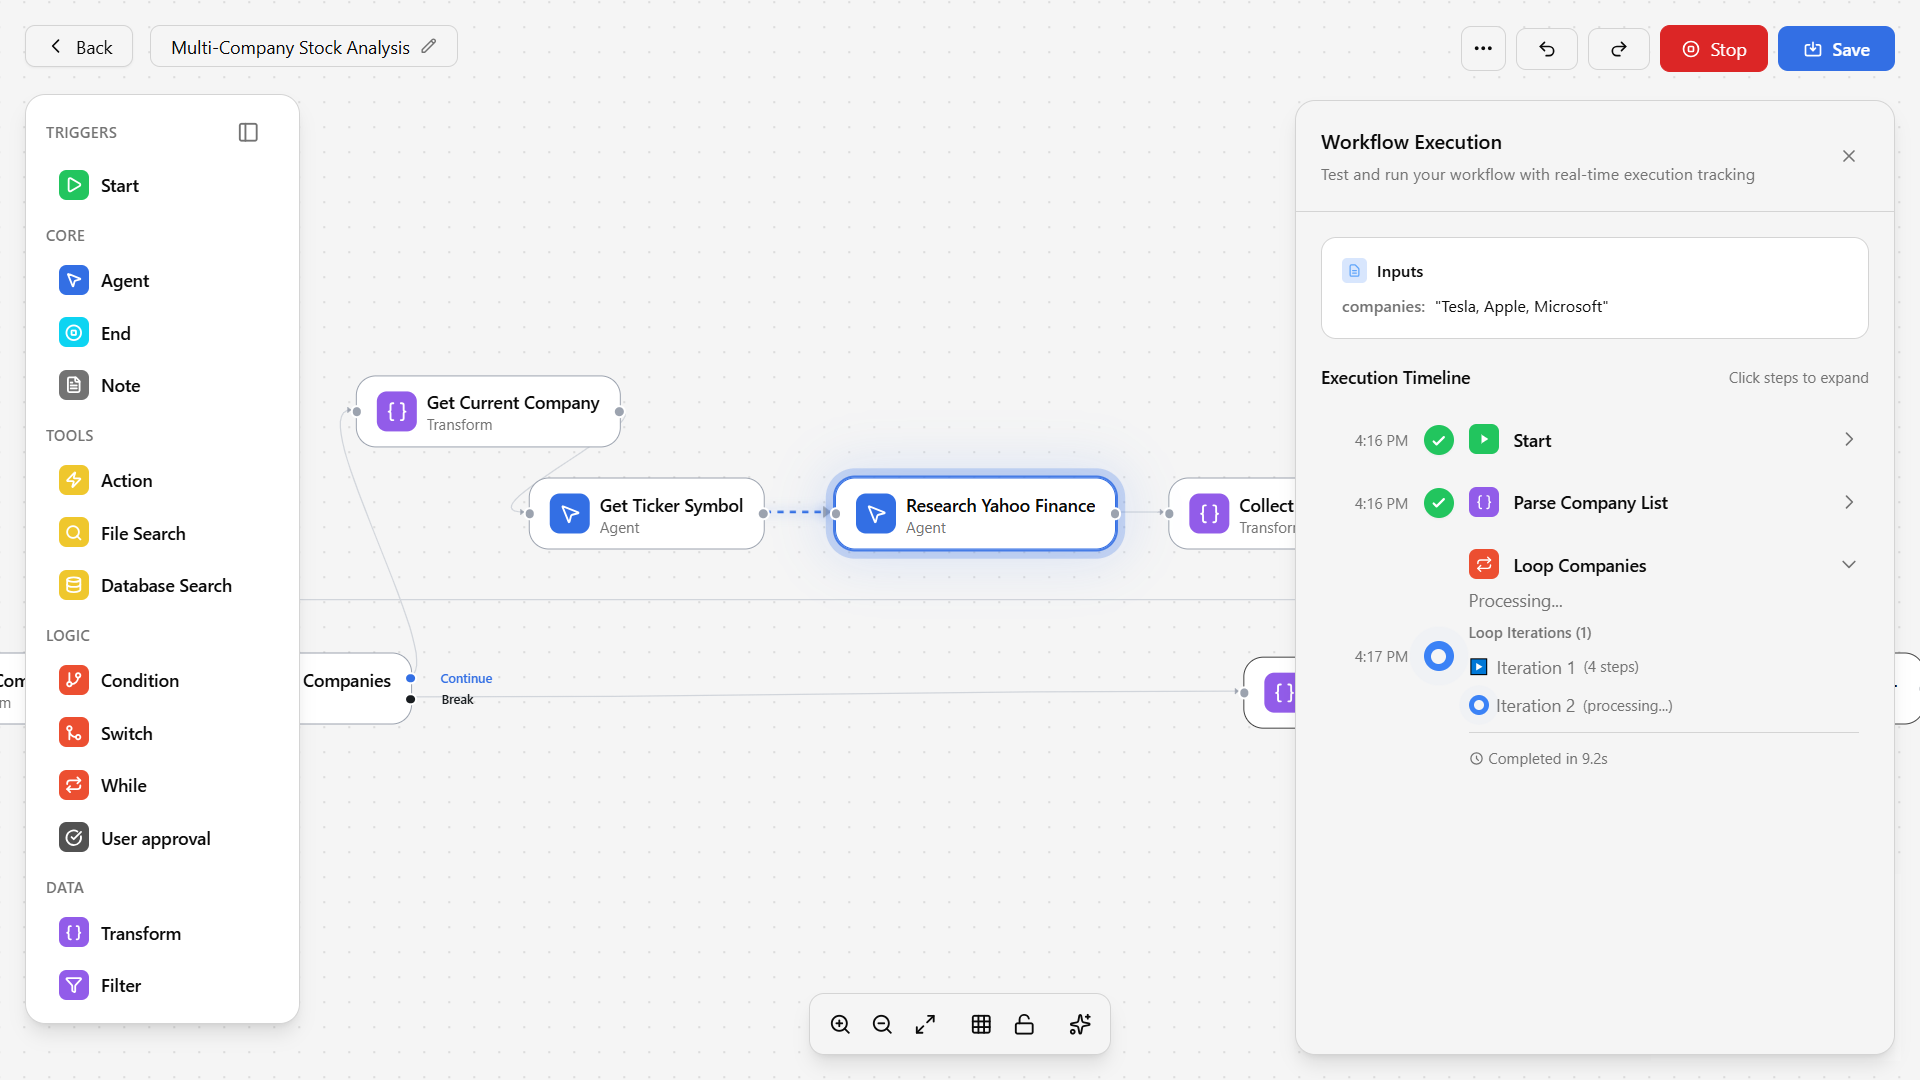
Once a workflow is saved, you can run it manually or set it up to run automatically. Monitor progress in real-time to make sure everything works as expected.Running a Workflow
Provide inputs (if required)
Some workflows need inputs before they can run — for example, a document to process or a question to answer. Fill in any required fields.
Monitoring Progress
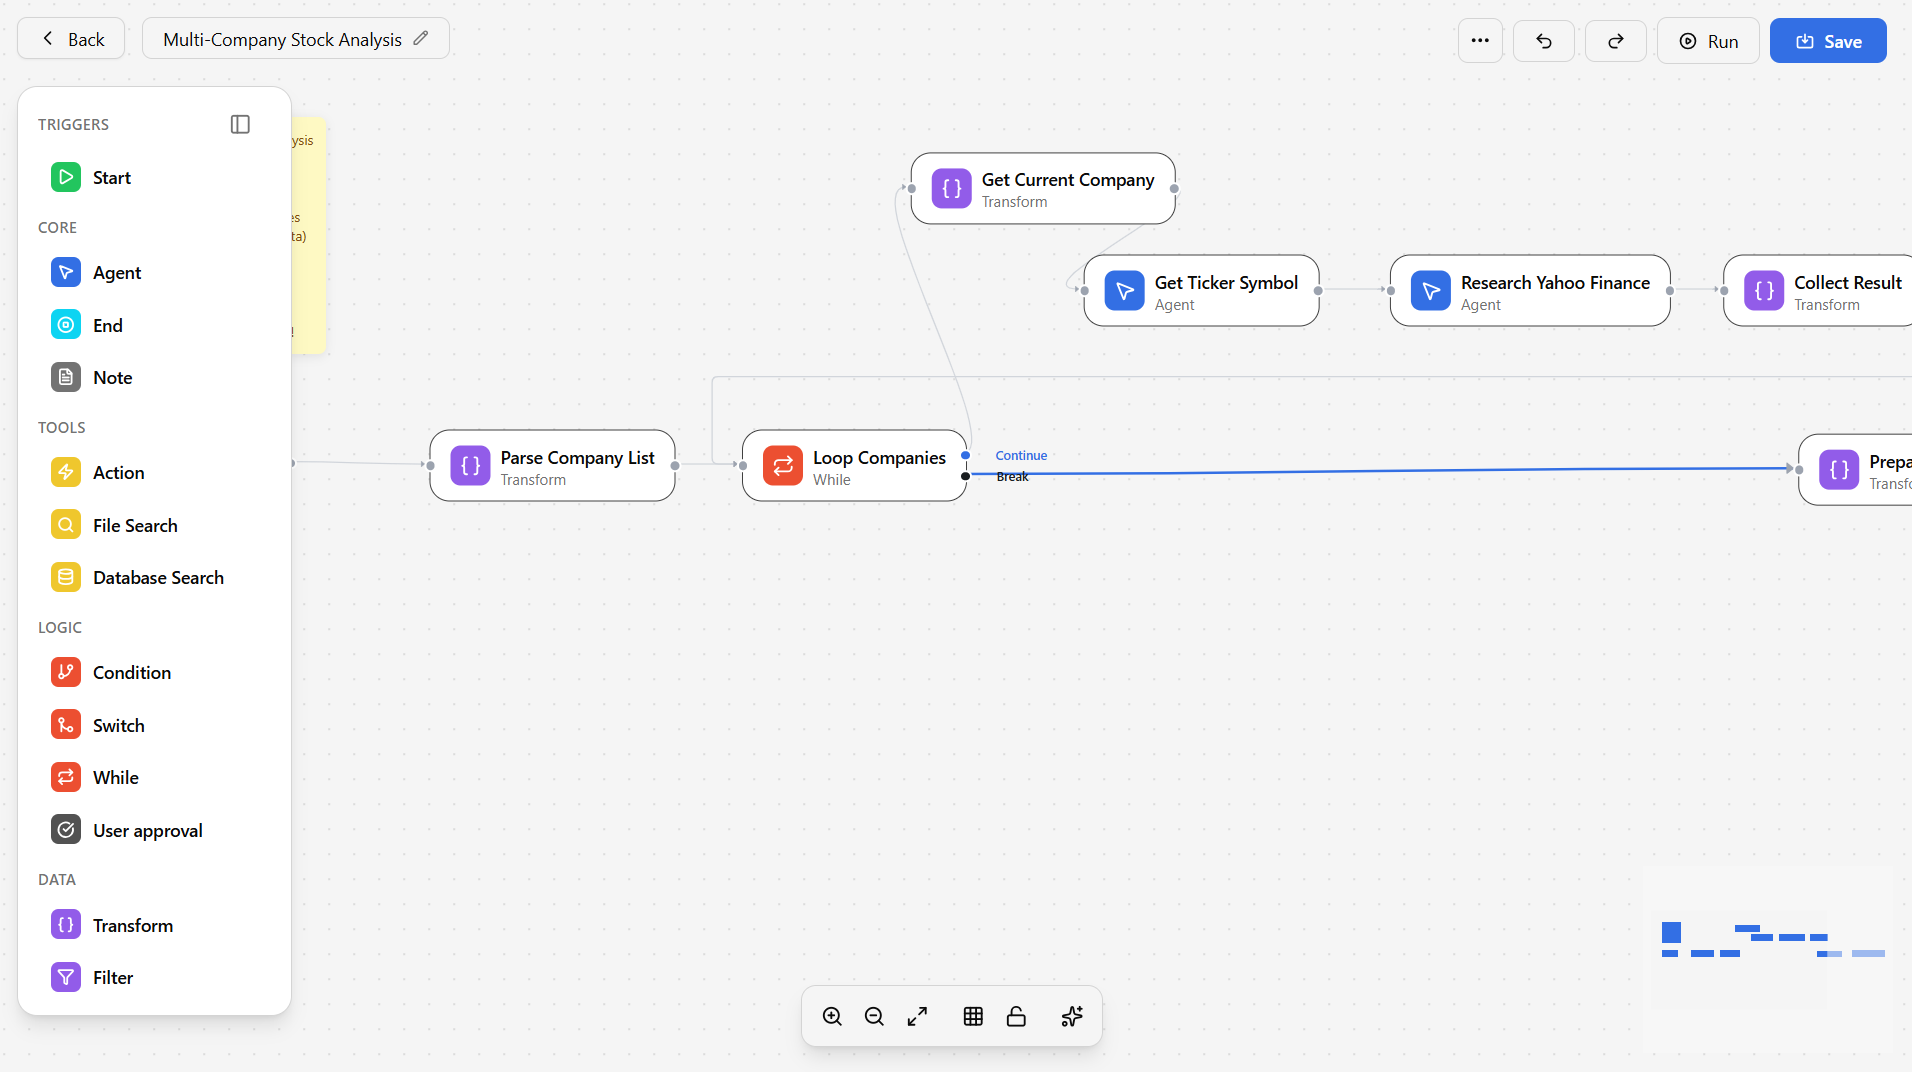
While a workflow is running, you can see:- Current step — Which step is currently executing (highlighted)
- Completed steps — Steps that have finished, with their outputs visible
- Status indicators — Green for success, yellow for in-progress, red for errors
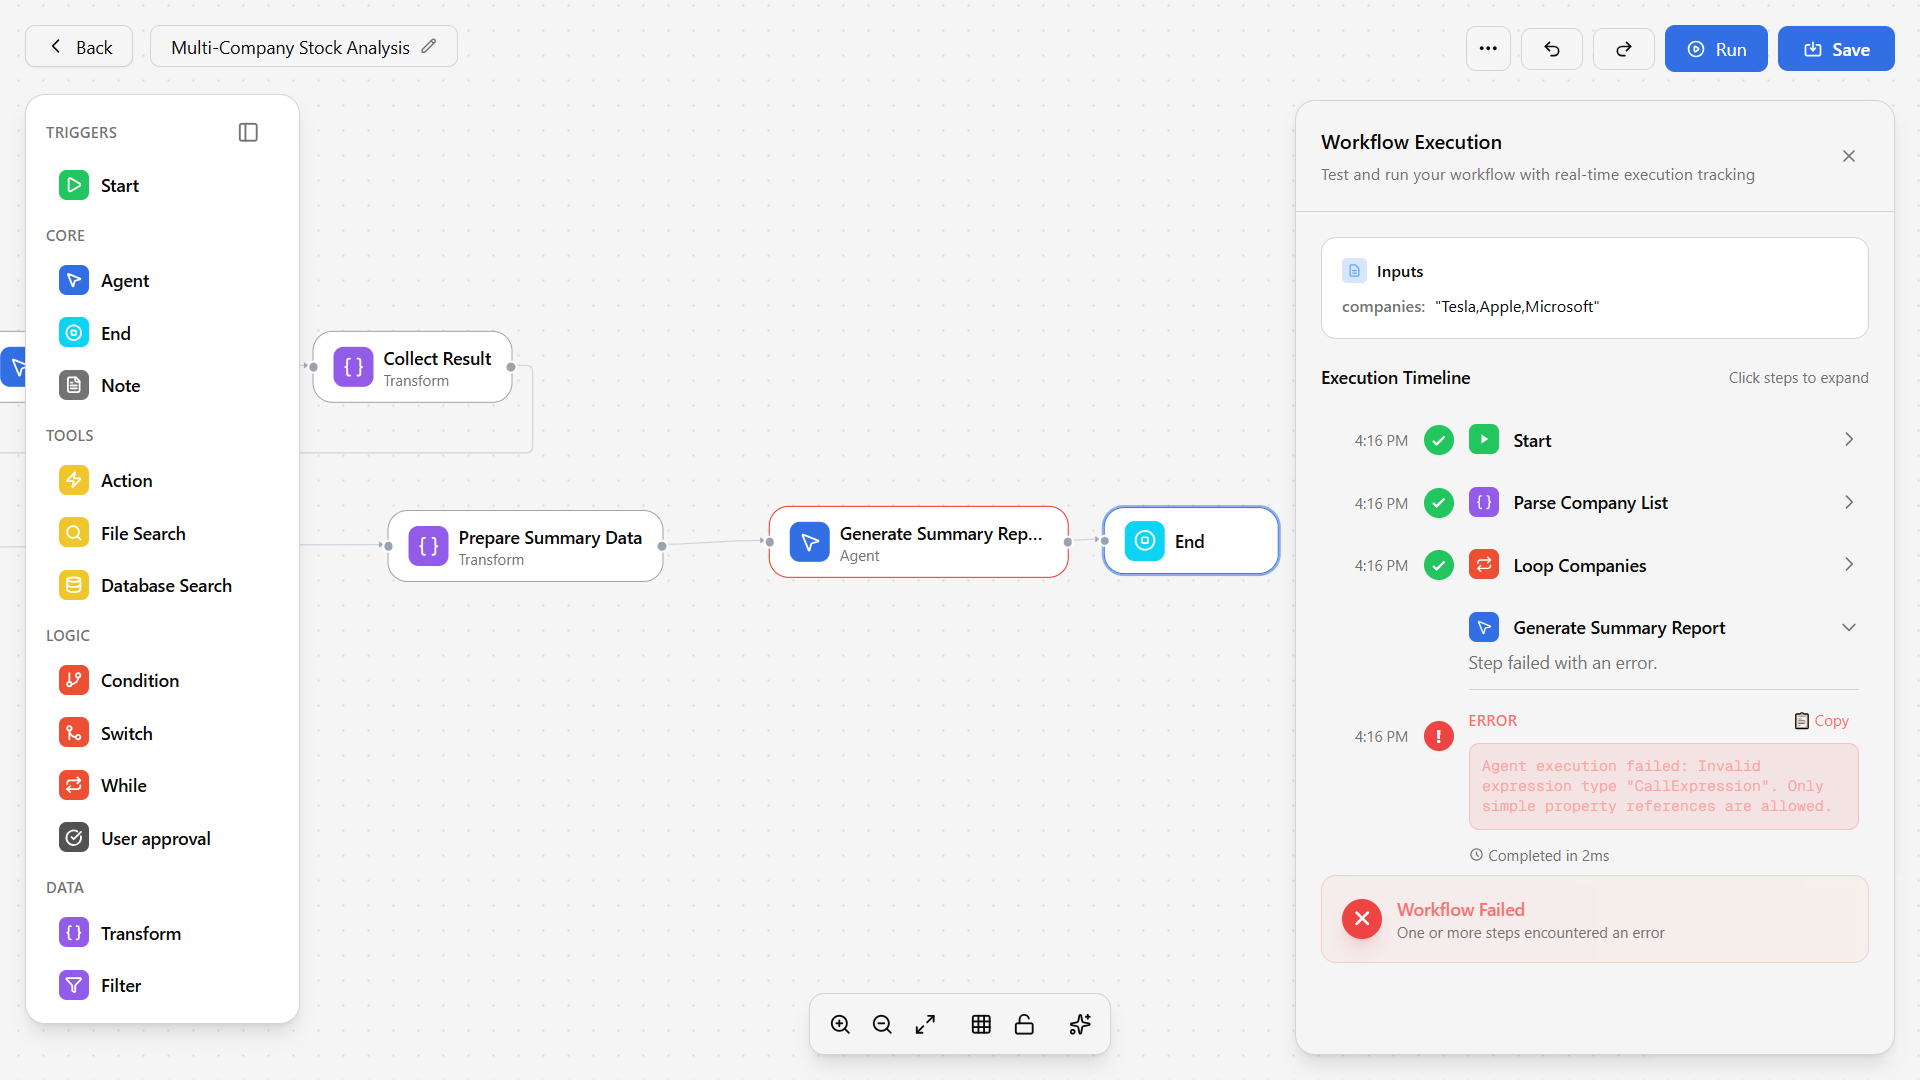
Handling Errors
If a step fails:- The workflow pauses and highlights the failed step in red
- Click on the failed step to see what went wrong
- Fix the issue (e.g., correct a prompt, check a connection)
- Re-run the workflow
Builder vs. Standard Creation
| Feature | Standard Creation | Workflow Builder |
|---|---|---|
| Basic setup (name, description) | Yes | Yes |
| Step configuration | Basic settings | Detailed settings |
| Knowledge scoping | Full knowledge base | Select specific documents |
| Live testing | After saving | In real-time |
| Visual interface | Form-based | Full-screen drag-and-drop |
| Error handling | Basic | Advanced debugging |
| Monitoring | Post-execution | Real-time |